-
1. Choose a Location
If you haven't already done so, take a few minutes to choose where you plant your new tree. Consider the general needs for sun or shade and soil moisture. Here are some do's and don'ts:
Check the description for your tree to find out what its particular needs are for sun, drainage, clearance from buildings and wind protection.
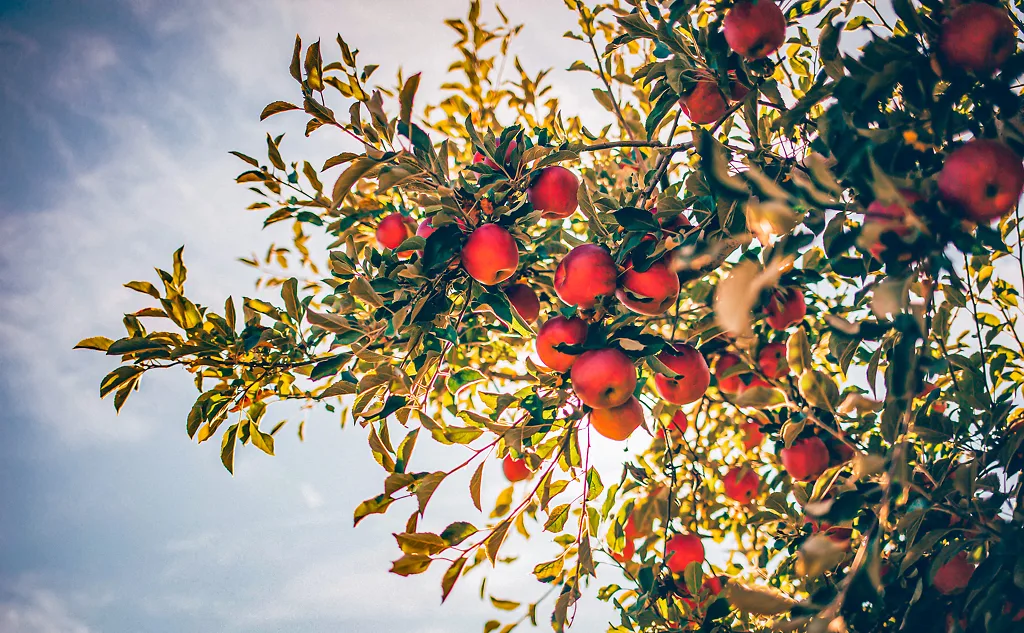
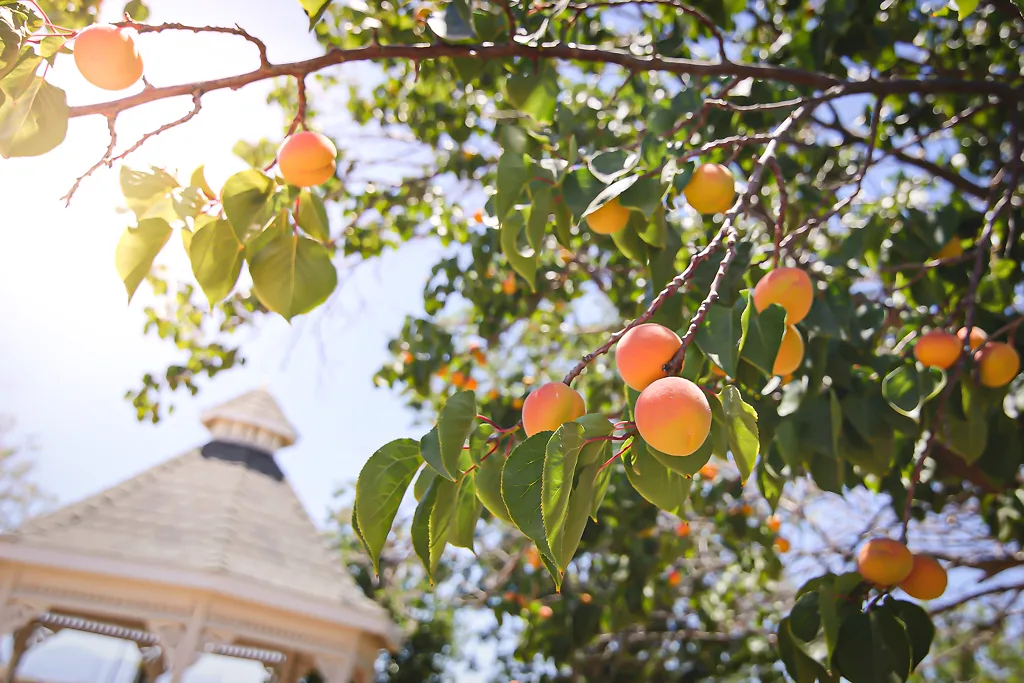
Place your tree where it will get the amount of sun or shade it needs. Most trees will do best in a sunny spot, but some trees need shade, especially from hot afternoon summer sun.
Think about drainage. Some plants need well-drained soil and should not be planted in low-lying spots which can be too damp a lot of the time.
Plant far enough away from buildings and walls. Your young tree may be pretty small right now, but it will soon grow and it should have enough space around it to develop properly. You should allow at least 6 feet from buildings and for trees that will grow larger 12 or 15 feet may not be too much.
Look up and don't plant under utility lines. Always plant well away from utilities like electricity and telephone lines. If your tree starts to get close to wires your utility company will come and chop the top off – they do a good job but you may not like how your tree looks after they are finished, so avoid the problem and plant well away from lines.
Don't plant right against a swimming pool or on top of water and sewage lines or a septic bed.
Keep inside your property line and plant back from the actual survey line. 6 feet is a good general rule, although it may vary depending on your city. Sometimes you may not be allowed to have trees over a certain height if they are too close to the boundary.
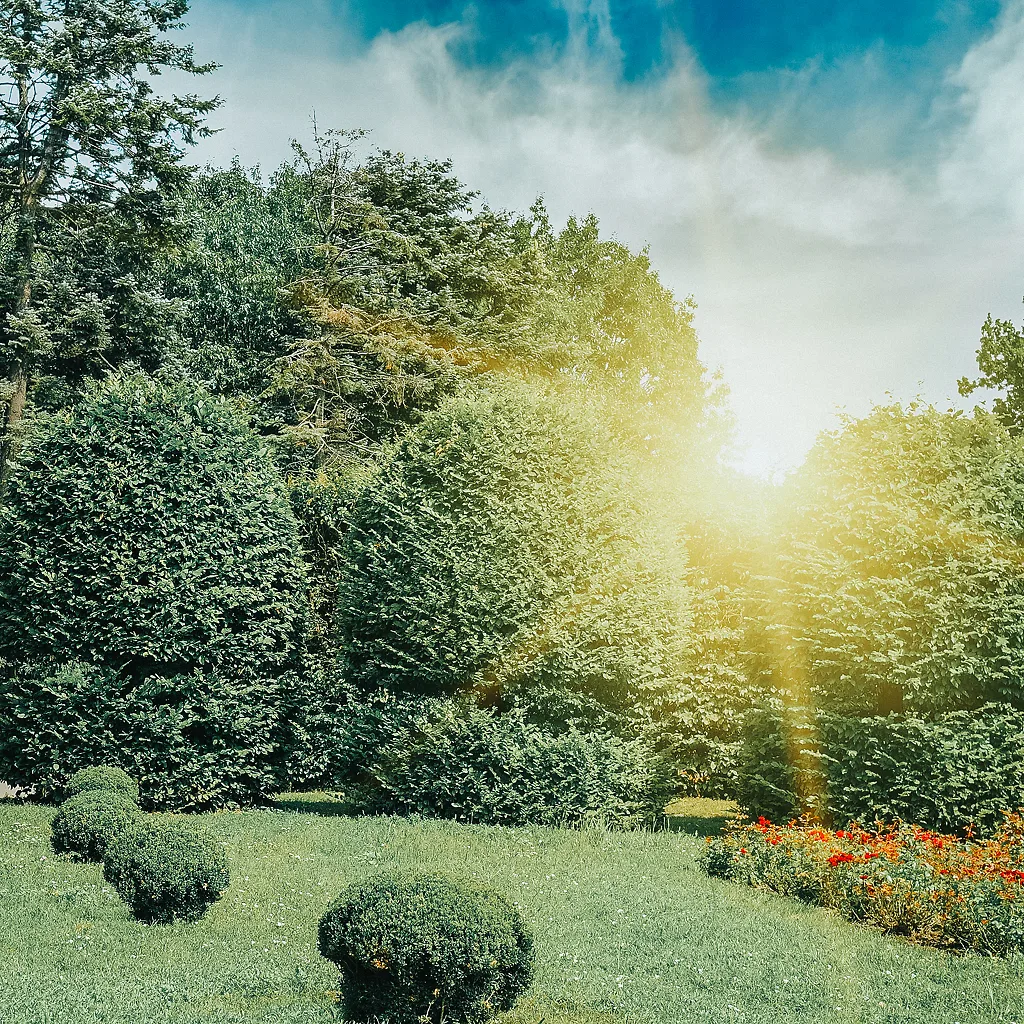
Think of the view. What will your tree be in front of when it is grown? Maybe you want to block something ugly, but you may want to keep a nice view too, so consider that.
Is your tree going to throw shade where you don’t want it? The shadow of your tree is going to be on the south and west side for most of the day. Maybe you want that shade or maybe you don’t.
-
2. Prepare the Soil
Your tree is going to be in its new home for a long time, so it is worth spending a little time digging over the planting area and removing weeds and large stones bigger than your clenched fist. Add some organic material – compost, manure, rotted leaves, grass clippings or peat-moss are all good materials to use. Some bone-meal, superphosphate or tree-starter food is great too – remember to use the recommended quantities as 'a little extra' is often a bad idea.
-
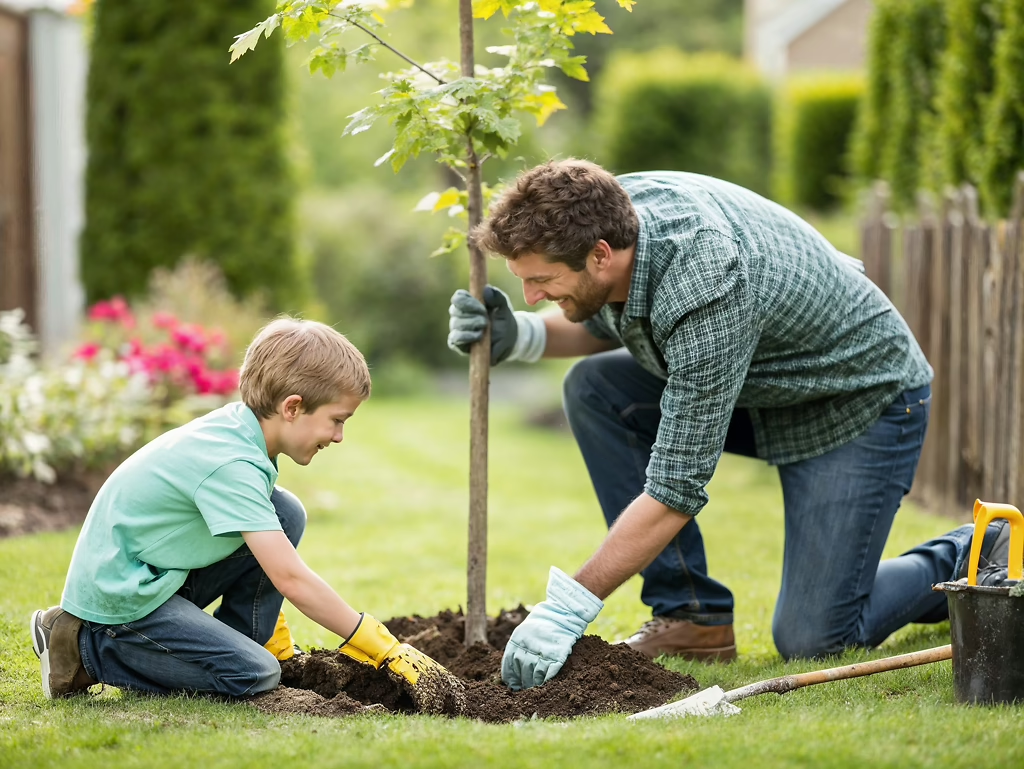
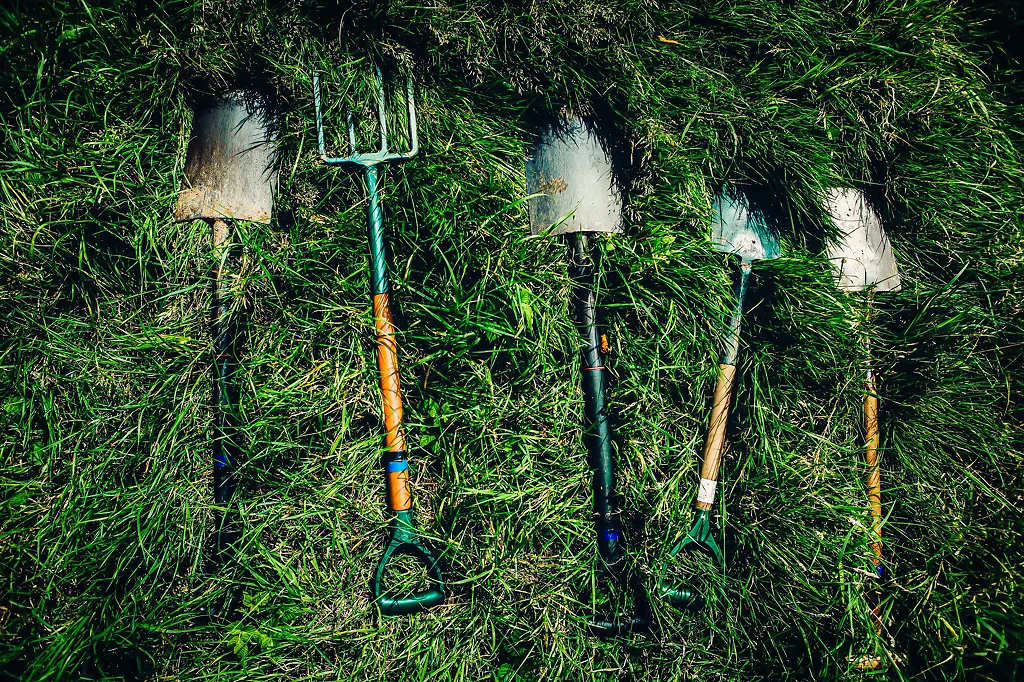
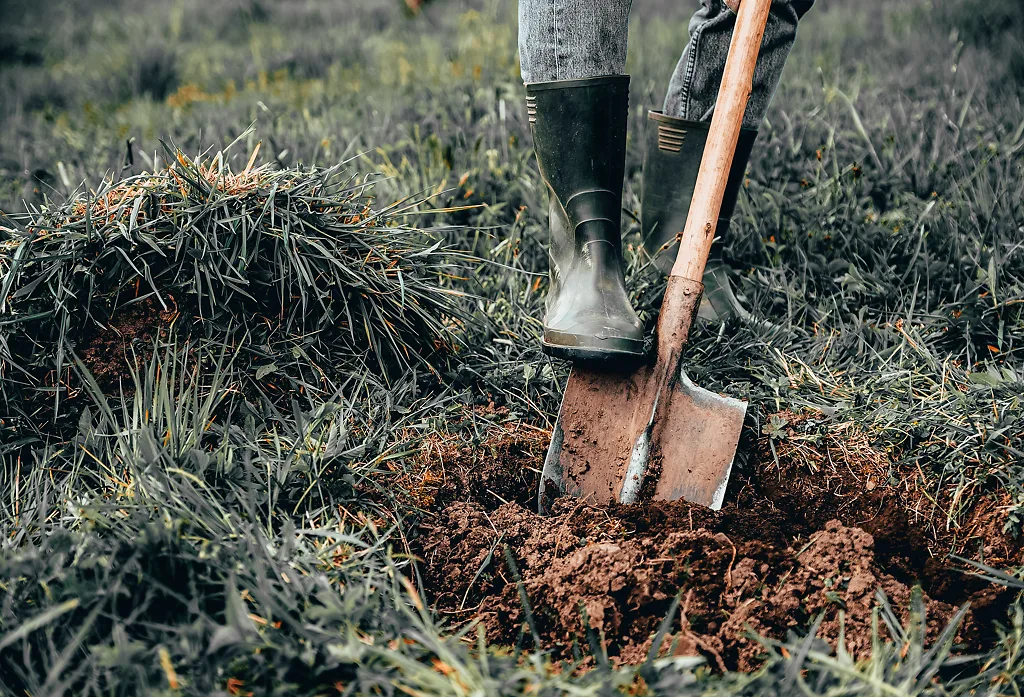
3. Dig the Hole
Your planting hole should be at least twice the width of the pot your tree is in and three times the width is even better. Dig your hole the same depth as the pot and put the soil on one side.
-
4. Prepare Your Tree
Unwrap the tree completely, place it in a shady spot and water it really well the night before planting. When you are ready to plant carefully slide the tree out of its pot.
If your tree is still dormant and has no leaves at all, shake off some of the soil so that the roots are spread out instead of tightly wrapped around the root-ball.
If your tree is a deciduous type of tree and has leaves on it, take a sharp knife and cut one inch deep at three or four spots around the root-ball, from top to bottom. This will encourage the roots to spread out and prevent them eventually growing around the trunk and injuring your tree.
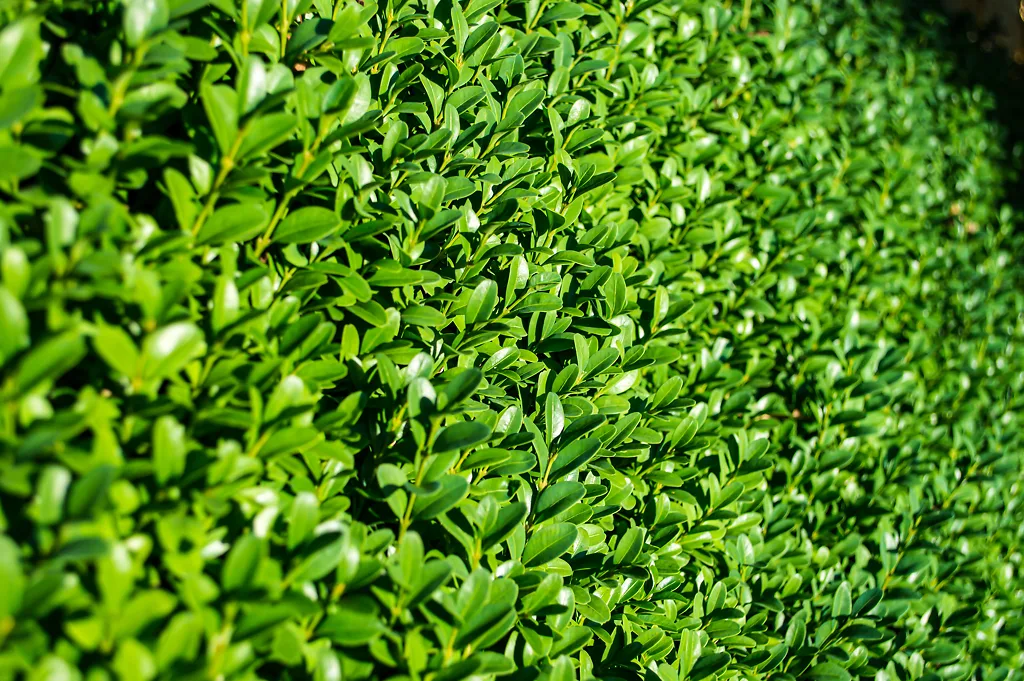
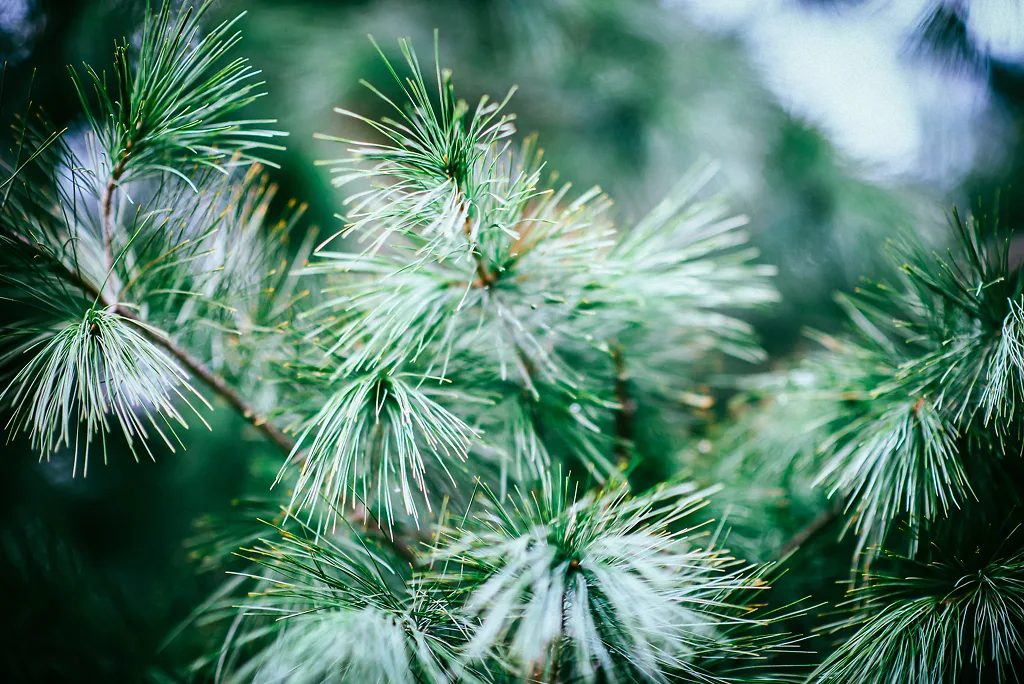
If your tree is an evergreen needle-tree (a conifer) the roots are finer and should not be disturbed. Palms and other exotic trees should also not be disturbed when planting.
-
5. Put Your Tree in the Hole
Place your tree in the center of the hole so that it will be the same depth as it was in the pot. A good way to do this is to place a stick across the hole and then add or remove soil underneath until your tree is at the proper depth. The soil underneath the tree should be firmed down and not soft or you tree will sink after planting.
-
6. Put Back the Soil
First, put about two-thirds of the soil back around the roots, pressing it down gently so you don’t leave any air-spaces.
Then fill the hole to the top with water. Let all the water drain away and now replace the rest of the soil. Don’t pile any extra around the trunk – keep the top of the root-ball less than one inch below the final soil level.
Build a low 'wall' of soil two inches high in a circle around the tree twice the distance from the trunk as the pot was wide. This will help keep water around the roots.
-
7. Apply Mulch
Mulch the area with organic mulch like compost, manure, leaves, pine-needles, bark or chopped leaves 2 to 4 inches deep. This is better than gravel or stones – unless that is a feature of your garden design. Keep the mulch a few inches away from the trunk.
-
8. Aftercare
Water your new tree well every week, or even more if you are planting during hot weather or you have very sandy soil. Do this for all of the first growing season. Always water thoroughly over the area right around the tree until the soil is wet deep down. 2 to 4 gallons of water is usually about right.