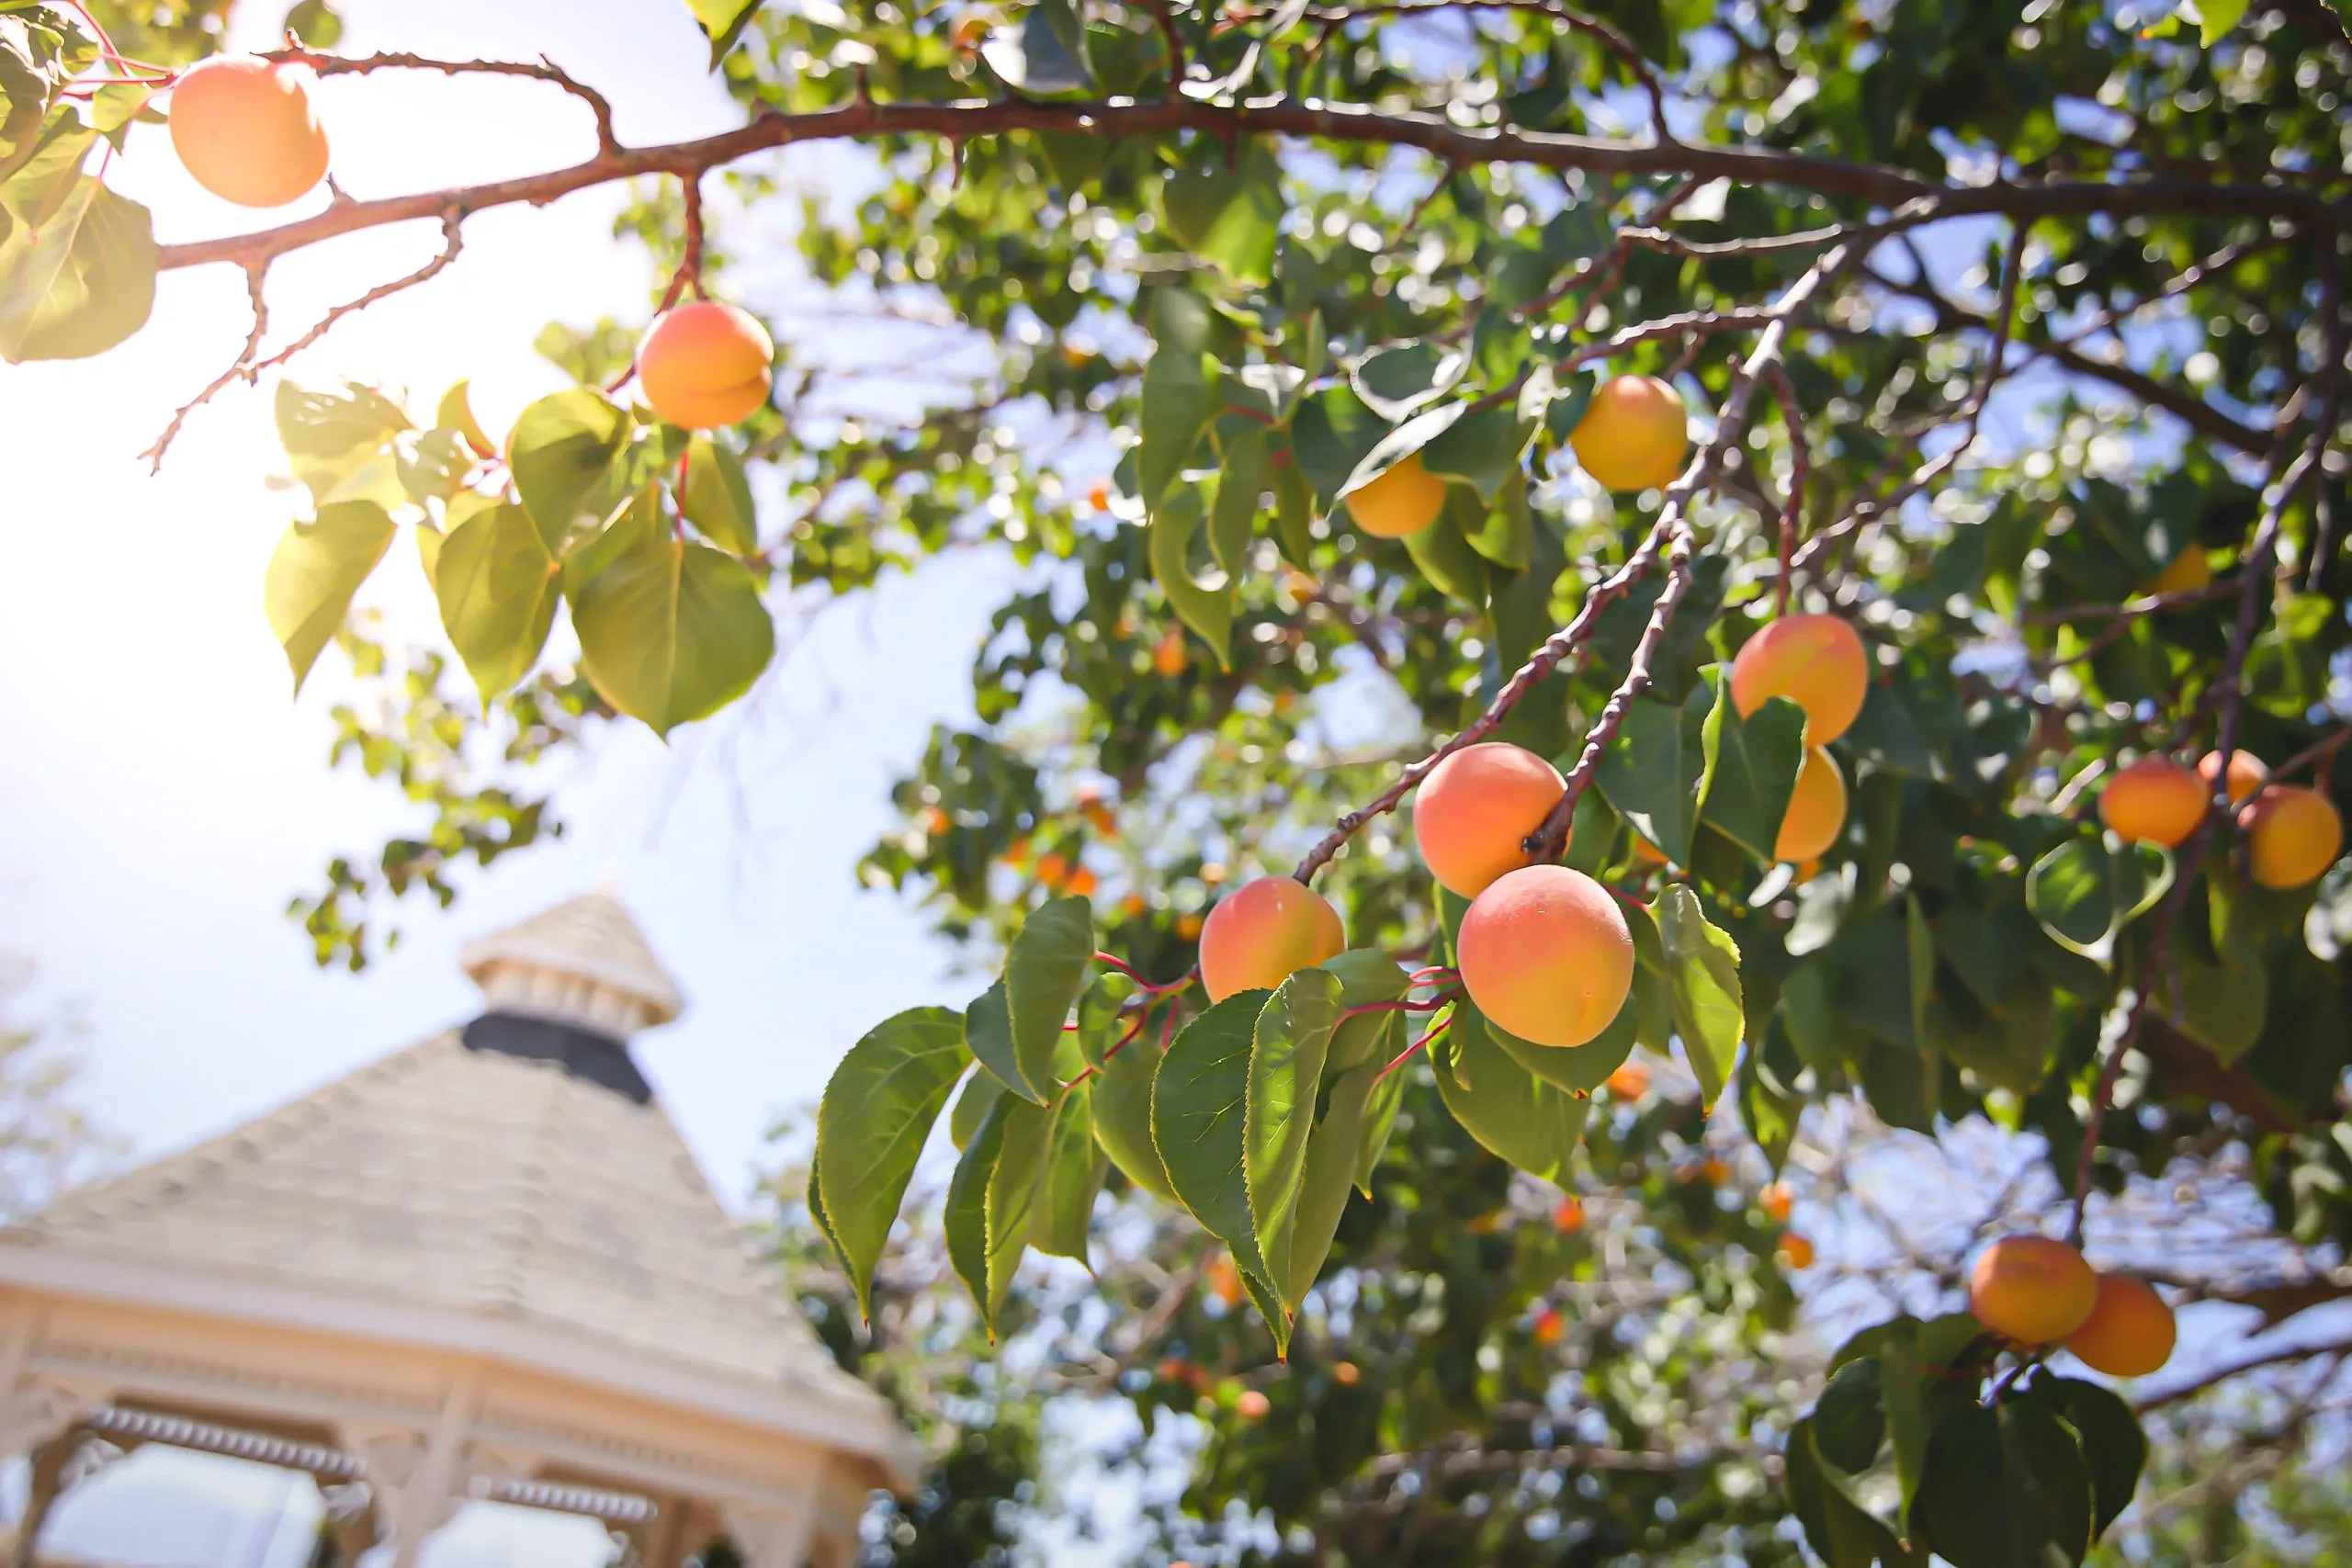
Planting Guides How To Plant Peach and Nectarine Trees
There are a wide variety of different shrubs for the garden, but they are all planted in much the same way. This guide will help you plant them successfully, so that they thrive and grow well. It will also help you locate them correctly, especially in group plantings where correct spacing is the key to a beautiful garden plan. This is an exciting time, with new plants waiting for your attention and ready to give their best for just a little care.
In a Nutshell
– Remove all packaging
– Water the shrub in its pot
– Choose a suitable planting site for the needs of your shrubs
– Prepare the soil
– Place your plants on the ground and decide on their exact positions
– Dig a hole the depth of the pot
– Put the shrubs in their hole and replace most of the soil
– Water well, let the water drain and put back the rest of the soil
– Put a mulch around your planting and water once a week for the first season
Getting Your Peach and Nectarine Trees Ready to Plant
The very first thing to do is un-wrap your plants. Remove all the wrapping materials, remove them from the box and remove any wrapping around the shrubs themselves. When you need to move your plants around, do it by picking up the pot – do not lift them by the trunk or stem.
Care Before Planting Time
Your new garden shrubs have been on a journey and they may be a little stressed, so place them in a shady part of your garden and give them a good watering. Do not put them in the garage, a shed or in the house, even if it is cold outside. Do not remove them from their pots at this stage. If you are not going to be doing the planting for a little while, that is fine, they will be happy in their pots, but if they are sun-loving plants, after a day or two in the shade, move it to a sunny location. Remember to water every day or every second day, depending on how warm the weather is – do not let the pots become completely dry. If a pot does become very dry, place it in a bucket and half-fill the bucket with water so that the soil can soak completely.
Choosing a Planting Location
Once your shrubs have been planted it is best not to try and move them again, so spend some time deciding exactly where to plant. Look at their needs for sun or shade and choose suitable spots in your garden for them. If you are planting a screen or hedge, we have special guides for planting hedges, windbreaks and privacy screens.
Preparing the Planting Site
Good soil preparation is the key to the success of your shrubs. Whatever your soil is like, use it. Do not try to dig a hole and fill it with soil you bought somewhere else. If your soil is poor, just use extra organic material.
You goal is to make a large area of looser soil that the young roots can penetrate easily, getting food as they go and establishing quickly. You need to have an area at least three times the diameter of the pot dug as deep as your spade will go. Add some organic material to the soil as you dig. Almost any kind of organic material is good, among the best are well-rotted cow, sheep, or horse manure (if you can obtain them); garden compost; any ‘top-soil’ from a garden centre; or if you have nothing else, peat-moss. Half a bucket per plant is about right, but any amount you have is worthwhile. In addition, newly planted shrubs need fertilizer to help develop their roots. This can be rock phosphate or bone-meal or any kind of superphosphate. There are many ‘tree and shrub planting’ fertilizers available too and they all work well, so whatever is available will be fine.
Remove roots of weeds from the area and any stones bigger than your fist. Smaller stones can be left and it is not a good idea to sieve the soil to remove smaller stones, they are best left in and can help with drainage.
Turn over the soil, mixing the organic material and fertilizer into it and then level it off and get ready to plant. Save some of the organic material you used to mulch after planting.
Preparing the Shrubs
The evening before you are going to plant, give the pots a good soaking with water. If the root-ball is dry when you plant, it may stay that way and cause your tree to suffer from dryness even if the surrounding soil is damp.
Placing Your Plants on the Ground
It can be hard to imagine the final size of young plants and mistakes are often made in spacing them apart. There is however a simple method to get it right. Look at the Mature Width of your shrubs, as shown in the descriptions on our website. Divide that by two and take off a foot for plants that are more than six feet wide, and six inches for
plants less than six feet wide. So for example, if the mature width is ten feet, half of that is five feet, less one foot is four feet. So your plant needs to be four feet from a building, wall or fence and it needs to be eight feet from another identical shrub. If you are positioning different types of shrubs, just add together the distances you calculate and space them that far apart. Avoid straight lines and try to give your plants a ‘natural’ spacing.
If you are planting around the house, check the Mature Height of your shrubs and don’t plant so that you will block windows once the plants grow. Taller plants can go between windows and then use smaller ones below them.
Digging the Holes
Now dig the holes in the exact spot where you want each shrub to be, making it two or three times the diameter of the pot, but only just as deep. If you have dug and prepared a whole bed or large area for several plants, you only need a hole wide enough to fit the shrub into.
Removing the Pots
Slide the pot gently off the root ball. You may need to tap the edges a couple of times to release the roots, but it should slide out pretty easily. Usually there will be plenty of roots filling the pot and the root-ball will stay together and not fall apart at all.
If it seems that the root-ball inside the pot is not solid, and this can happen, it is quite normal, then leave your shrub in its pot, take a sharp knife and cut around the bottom of the pot and remove the base. After you have the tree positioned in its hole and some soil in place to stabilize its, you will cut down the sides of the pot in one or two places and gently slide the pieces out of the hole, leaving the root-ball undisturbed.
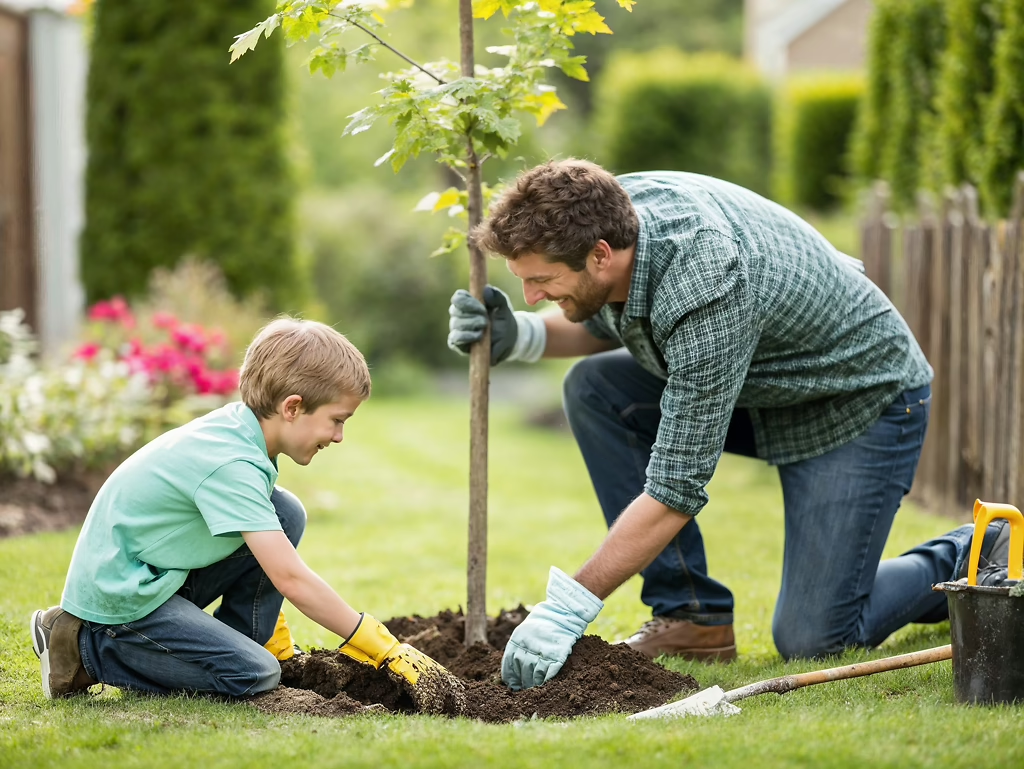
Planting Your Peach and Nectarine Trees
Now place the bush in the center of the hole, checking that the top of the root-ball is level with the soil around it. Replace about three-quarters of the soil in the hole, pressing it down around the roots of your tree. If you have left the pot on, do the same thing, but when you have finished, cut the pot from top to bottom in a couple of places and gently work the cut pot out of the soil. Finish firming down the soil – a gentle foot pressure or firm hand pressure is about right.
Watering the Shrubs
Now fill the hole with lots of water, letting it soak down into the ground and into the root ball. Use plenty of water and then wait until it has all drained away. This will give water around the roots of your plants, where it is needed.
Finishing the Planting
Now put back the rest of the soil, firming it gently down. Make sure you have only covered the top of the root ball with a very little soil, no more than one inch. Make sure the soil is not sloping away from the tree, but flat, so that when you water it will stay not just run away. Put a layer of organic material over the root area, about two inches deep and then water the whole area thoroughly.
Follow-up Care of your Shrubs
Until your shrubs are established and have spread out their roots, they will need regular watering. How often depends on the weather, but a good, slow soaking once a week is usually best, or twice a week if the weather is hot. Soak the whole area of the root ball.
So that is it. Your shrubs are set for a great life and will reward you with vigorous growth and lots of flowering. A little care really pays off.
Comments 6 comments
How do I order a nectarine tree for Pomona ca
We planted our new peach trees last spring. Is there any special care or feeding for the 2nd year?
I was just told in order for a peach tree to have fruit you need to plant two of them. Is this true? If yes or no, how long does it take before the tree produces peaches?
My tree arrived and looks very healthy. It has a sucker branch coming out from the roots. It is fully leafed out. So I wondered if I should cut it off at the roots?
Can dwarf nectarine trees be planted in a large pot instead of the ground?
Why are there just questions without answers. We can learn from them too!