Planting Guides How to Plant Evergreen Hedges
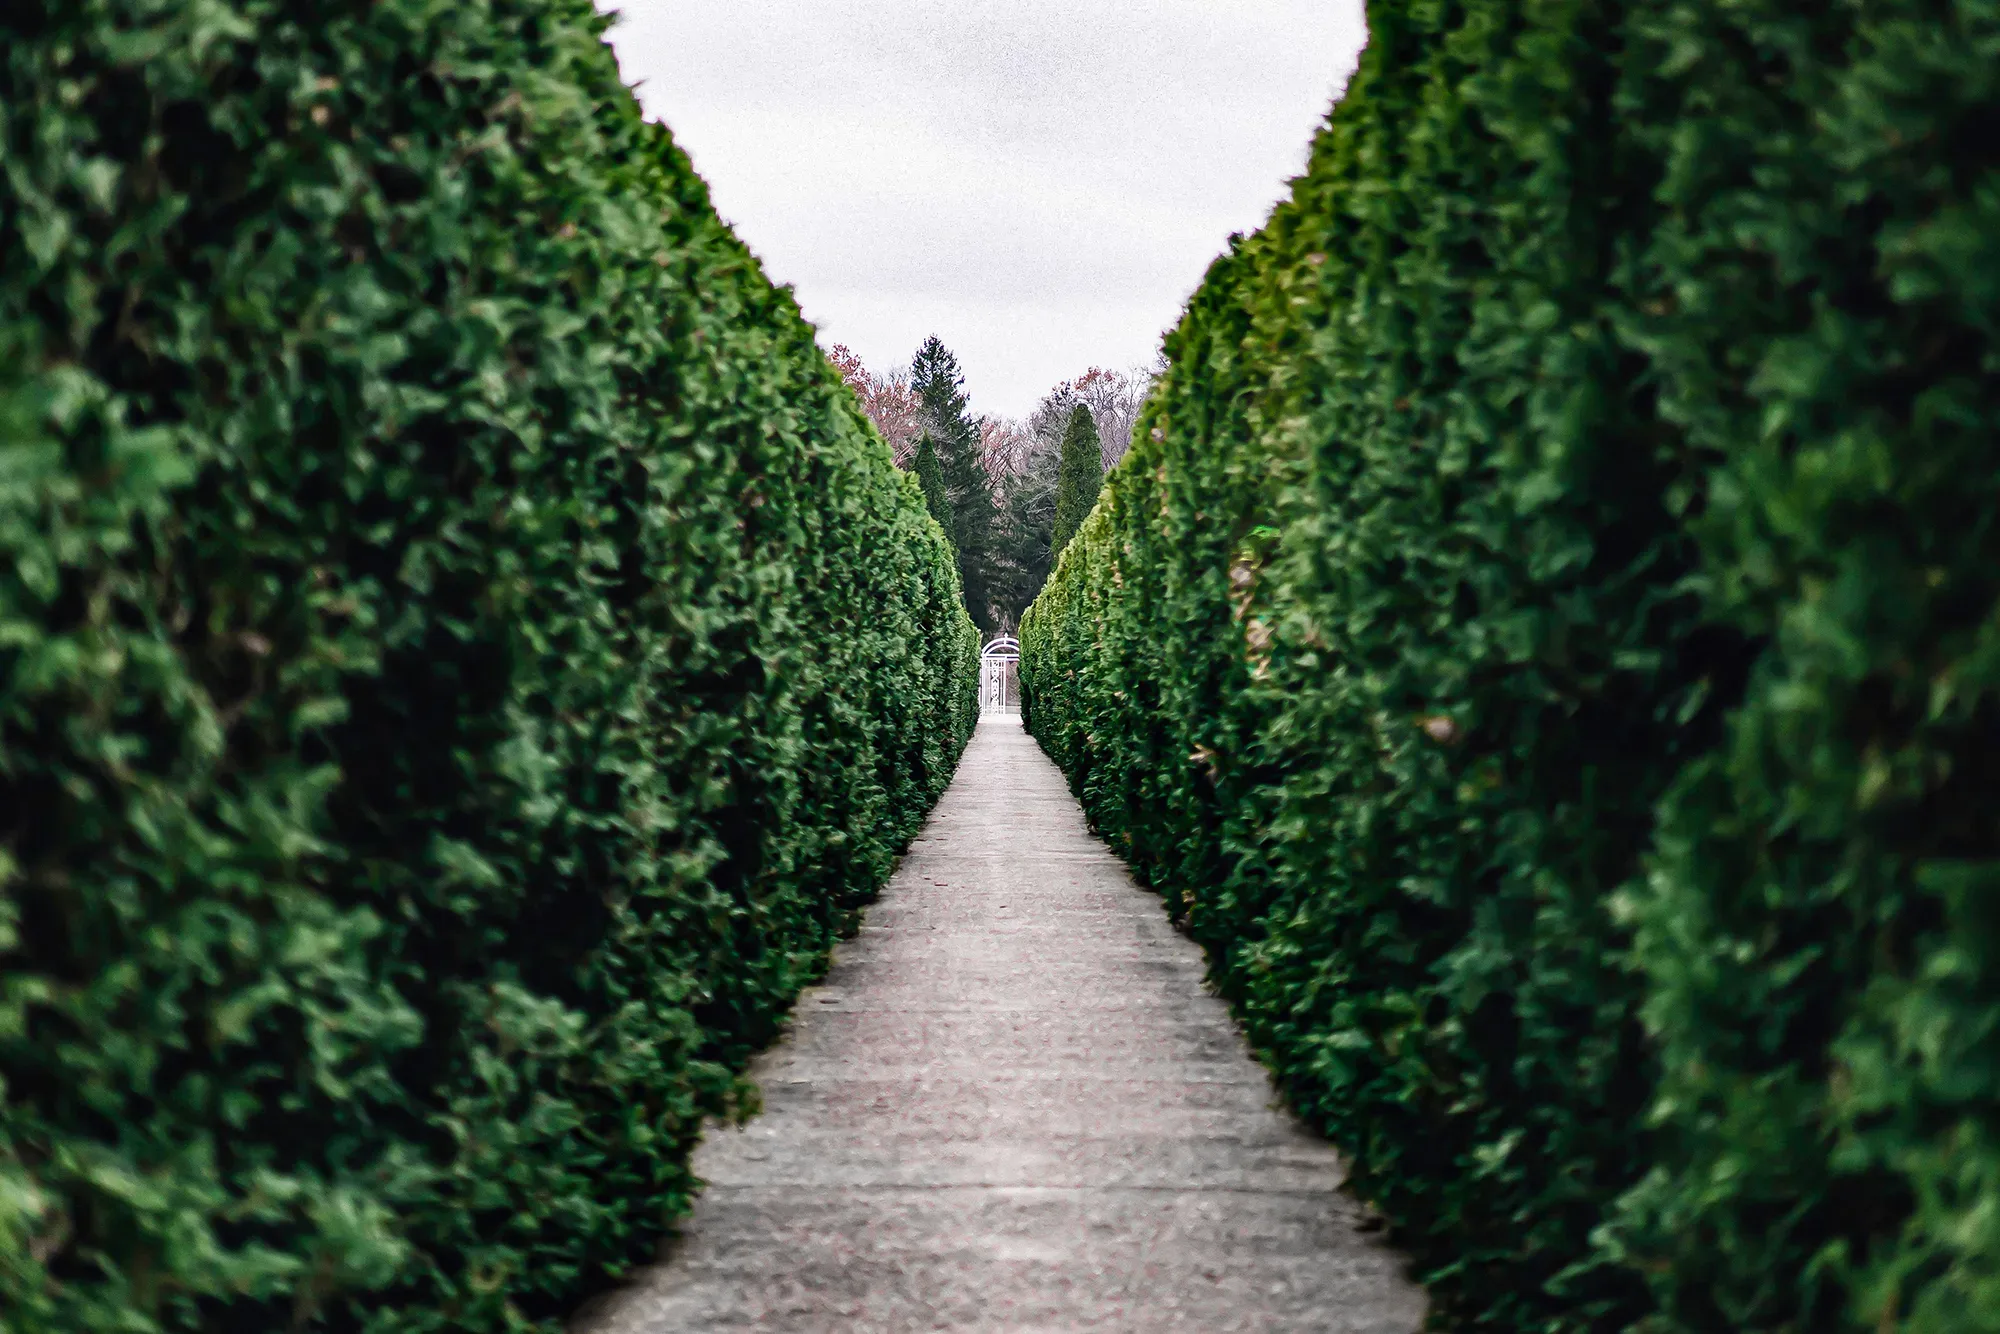
Hedges are one of the major features of many gardens. Besides providing privacy and protection for your garden, they make the perfect backdrop for ornamental and flowering shrubs and plants. The plants you chose for your hedge have arrived and now it’s time to plant them. A few simple steps are all it takes to do it right and this guide will help you achieve the best outcome and give you the perfect hedge.
In a Nutshell
- Remove all packaging
- Water the trees in their pots
- Prepare the soil
- Dig out a trench along the hedge line to the depth of the pot
- Line-out the trees in the trench and replace most of the soil
- Water well, let the water drain and put back the rest of the soil
- Put a mulch over the roots and water once a week for the first season
- Start trimming as soon as the plants begin to grow
Remove your Trees from the Box
The very first thing to do is un-wrap your trees. Remove all the wrapping materials, remove the trees from the box and remove any wrapping around the trees themselves.
Do not remove them from their pots. Move your plants around by picking up the pot – do not lift them by the trunk or stem.
It may be that your trees are wrapped in cloth – burlap – in a method called Ball & Burlap or B&B. We will give you some tips on planting from this specific method. The first tip is to always move the plants by the ropes that wrap them up, not by picking up the plant, which can cause the ball to begin to split.
Care Before Planting Time
Your trees have been on a journey and they will be a little stressed, so place them in a shady part of your garden and give them a good watering. Do not put them in the garage, a shed or in the house, even if it is cold outside. Do not remove them from the pot, or unwrap the roots.
Your trees are in pots:
If you are not going to be planting for a little while, that is fine, they will be happy in their pots, but if they are sun-loving, after a day or two in the shade, move them to a sunny location. Remember to water every day or every second day, depending on how warm the weather is – do not let the pots become completely dry. If a pot does become very dry, place it in a bucket and half-fill the bucket with water so that the soil can soak completely.
Your trees are Ball & Burlap:
Treat them in the same way as trees growing in pots, but if the weather is very warm, piling some mulch over the root-balls will help keep them from drying out quickly. If they become very dry, soak them gently; do not place them in bucket of water as this may cause the root-ball to disintegrate.
Laying Out Your Hedge
Hedges are usually put along a property line, or to separate one area of the garden from another. If you are planting along the property line, remember to plant well inside the line or you could have future problems with your neighbours. If you plant right on your property line your neighbor has a legal right to cut plants back to the property line so plant well inside your own property. Planting at least three feet, and preferable more, inside that line will give you complete control over the growth and trimming of your own hedge – an important consideration.
Preparing the Planting Site
Good soil preparation is the key to the success of your trees. Whatever your soil is like, use it. Do not try to dig a hole and fill it with soil you bought somewhere else. If your soil is poor, just use extra organic material.
You goal is to make an area of looser soil that the young roots can penetrate easily, getting food as they go and establishing quickly. Add some organic material to the soil as you dig. Almost any kind of organic material is good, among the best are well-rotted animal manures; garden compost; any ‘top-soil’ from a garden centre; or if you have nothing else, peat-moss. An area two to three feet wide and the length of your hedge is about right. Use enough organic material to cover the area two to four inches deep. In addition, trees need fertilizer to help develop their roots. This can be rock phosphate or bone-meal or any kind of superphosphate. There are many ‘tree planting’ fertilizers available too and they all work well, so whatever is available will be fine.
Remove roots of weeds from the area and any stones bigger than your fist. Smaller stones can be left and it is not a good idea to sieve the soil to remove smaller stones – they are best left in and can help with drainage.
Turn over the soil, mixing the organic material and fertilizer into it and then level it off and get ready to plant. Save some of the organic material you used to mulch your hedge after planting.
Preparing the Trees
The evening before you are going to plant, give the pots a good soaking with water. If the root ball is dry when you plant, it may stay that way and cause your trees to suffer from dryness even if the surrounding soil is damp.
Planning your Hedge
Most hedge plants are planted on two, three or four foot centers. Planting at the closer spacing will give you a full hedge a little quicker, but wider spacing will also fill in soon, especially with fast-growing trees like Leyland Cypress or Thuja. If you need a very dense hedge, then planting two rows, two feet apart, with the plants on four foot centers, staggered, will also give you excellent results.
For smaller hedges made with Boxwood for example, a spacing of 12 to 18 inches apart is normally used.
So that you can create a good end to your hedge, the first and last plants each go half the chosen spacing distance from the end of the area for your hedge.
Digging the Holes
The simplest method is to dig a trench along the line of the hedge, just to the depth of the pots. Use a rope stretched between two stakes to make sure your line is straight. With wider spacing it is also possible to dig individual holes the depth of the pots. The benefit of using is a trench is that you can easily make adjustments to the spacing and get a perfectly even effect right from the start.
Begin by placing the two end plants in their positions and then space the remaining plants evenly between them. Take your time with the spacing – gaps will show for quite a long time.
Removing the Coverings
For trees in Pots:
Slide the pots gently off the plants. You may need to tap the edge a couple of times to release the root-ball, but it should slide out pretty easily. Usually there will be plenty of roots filling the pot and the root-ball will stay together and not fall apart at all.
If it looks like the soil is going to fall off the roots, don’t worry, that is easily dealt with. Simply leave it in the pot, take a sharp knife and cut around the bottom of the pot and remove the base. Then get someone to hold the pot together while you cut down the side of the pot. Tie a piece of string around it to hold it together while you plant.
For Ball & Burlap trees:
Keep all the coverings on the trees until you have them correctly placed. Then use a sharp knife to cut through the ropes and remove them. Any pieces left underneath the trees will not cause a problem. Unfold the burlap to expose the roots and trim away any surplus. Do not try to lift the trees to remove the rest – just push it down into the soil where it will soon rot.
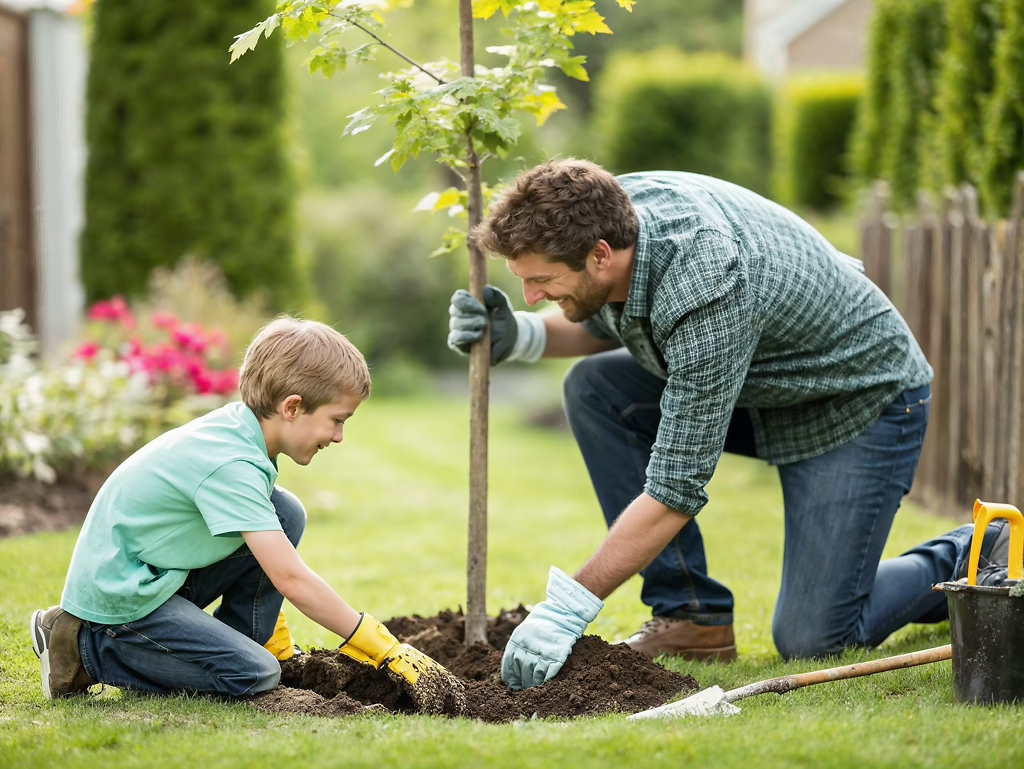
Planting the Trees
Now check that the top of the root-balls is level with the soil around it. Replace about three-quarters of the soil in the holes or trench, pressing it down around the roots of your trees. If you have left the pots on, as described above, do the same thing, but when you have finished, cut the string holding the pot together and gently work the cut pot out of the soil. Finish firming down the soil – a gentle foot pressure or firm hand pressure is about right.
Watering the Tree
Now fill the trench with lots of water, letting it soak down into the ground and into the root balls. Use plenty of water and then wait until it has all drained away. This will give lots of water around the roots, where it is needed.
Finishing the Planting
Now put back the rest of the soil, firming it gently down. Make sure you have only covered the top of the root ball with a very little soil, no more than one inch. If you can still see the top of the root ball, that is also fine. You should have soil left over to make a low ‘wall’ along either side of the trench, so that water will naturally run into it – this will be a great help with watering. Put a layer of organic material over the root area, about two inches deep and then water the whole area thoroughly again.
Planting in Clay and Wet Soils
If you have heavy, clay soil that stays wet for long periods, there is a special trick to planting which will help your hedge establish itself better. When you place the plants in the trench, put enough soil under them to raise them one or two inches above the surrounding level. When you put back the soil, make a long mound, with the trees now sitting above the general level of your garden. This will help water to drain away around the roots until your tree adapts to the location. You should still use mulch over the roots.
Staking
Normally staking is not necessary. Modern arborists prefer to let the wind strengthen the tree, and stakes often cause breakage of the upper part of your tree.
In a very windy location you could stake your hedge by driving a strong pole in at each end, and others every ten feet or so if necessary. These only need to show two feet above the ground. Run a wire tightly between these stakes and using something soft, like strips of cloth, tie each tree to the wire. After one growing season untie the trees and remove the wire – the roots will be well-established and there is no more danger of your hedge blowing down.
Follow-up Care of the Hedge
Until your hedge is established and the plants have spread out their roots, it will need regular watering for the first growing season. How often depends on the weather, but a good, slow soaking once a week is usually best, or twice a week if the weather is hot. Soak the whole area around the hedge, not just up against the stems of the plants. Future watering will depend on the type of trees you have used, your soil-type and local weather conditions.
Hedge Trimming
Most hedges plants need regular trimming to keep them neat, at the desired height and width and to prevent them becoming the large trees many of them naturally are. There are two basic rules that will give you the best hedge around.
- Start trimming as soon as the plants start to grow – don’t wait until they reach the full height you need. Light, regular trimming will build a dense structure and keep the lower part of the hedge growing well.
- Always trim the sides so that the top is thinner than the bottom – the sides should be flat but slope inwards towards the top. This is to let light reach the bottom and keep it green and healthy. If you let the top become wider than the bottom, the lower branches will begin to die and you will soon see gaps in the lower section of your hedge.
If you follow these two simple steps your hedge will be healthy, thick and strong from the top to the bottom for many, many years to come.


Comments 8 comments
Hi, I’m looking for some help. We have a house on a business corner outside of Philadelphia. We have several mature maples along the busy road creating a shade canopy. We want to screen the busy road, but the plants need to be (1) evergreen, (2) able to grow in shade, (3) deer resistant, and (4) survive close (about 10′) to a busy road. We’ve heard recommendations for hollies (Satyr Hill “American”?) and hemlock (?), but it’s not clear what’s a good fit. Please let me know your recommendations. Thank you, Fred
Is there a neat no trim hedge type that grows just at around 6 feet
I live in Buffalo, NY and want to plant a hedge fence in order to cover a stockade fence put up by a railroad company at the rear of my yard. I absolutely hate the look of stockade fences. The length is about 75 ft. and need to know how many hedges do I need and what is the best time of the year to plant the hedges. I was thinking of the California privet hedge or something similar. Any help is this matter would be greatly appreciated.
My new ever greens may have gotten too much water this spring / early summer. They are turning light green / yellow. Any ideas to revive them, other than stop watering.
My new ever greens may have gotten too much water this spring / early summer. They are turning light green / yellow. Any ideas to revive them, other than stop watering.
I am looking for a Hick Yew shrub as a hedge. If you are out of that shrub, what recommendations in the form of Box woods would you suggest?
I live in Chicago, zone 6.
I would like to know if i can plant a sweetbay magnolia, or another type of magnolia with big white flowers and dark gree foliage in a very large pot on my deck, either sunny location or partial shade?
Second, can I plant those large brown juicy figs (don’t know their name) in a very large pot, whether sun or partial shade on my deck?
For years I had different kinds of conaceas (“pines”), one hydrangea and zone 3 grass planted in those very large pots, and in smaller ones, but I grew tired of seing the same.
September 3, 2024 by Diane Sullivan
have 60 of your Boxwoods planted in pots on my balcony in Avon Colorado. What should I do to protect the plants from the cold temperatures in wintertime?