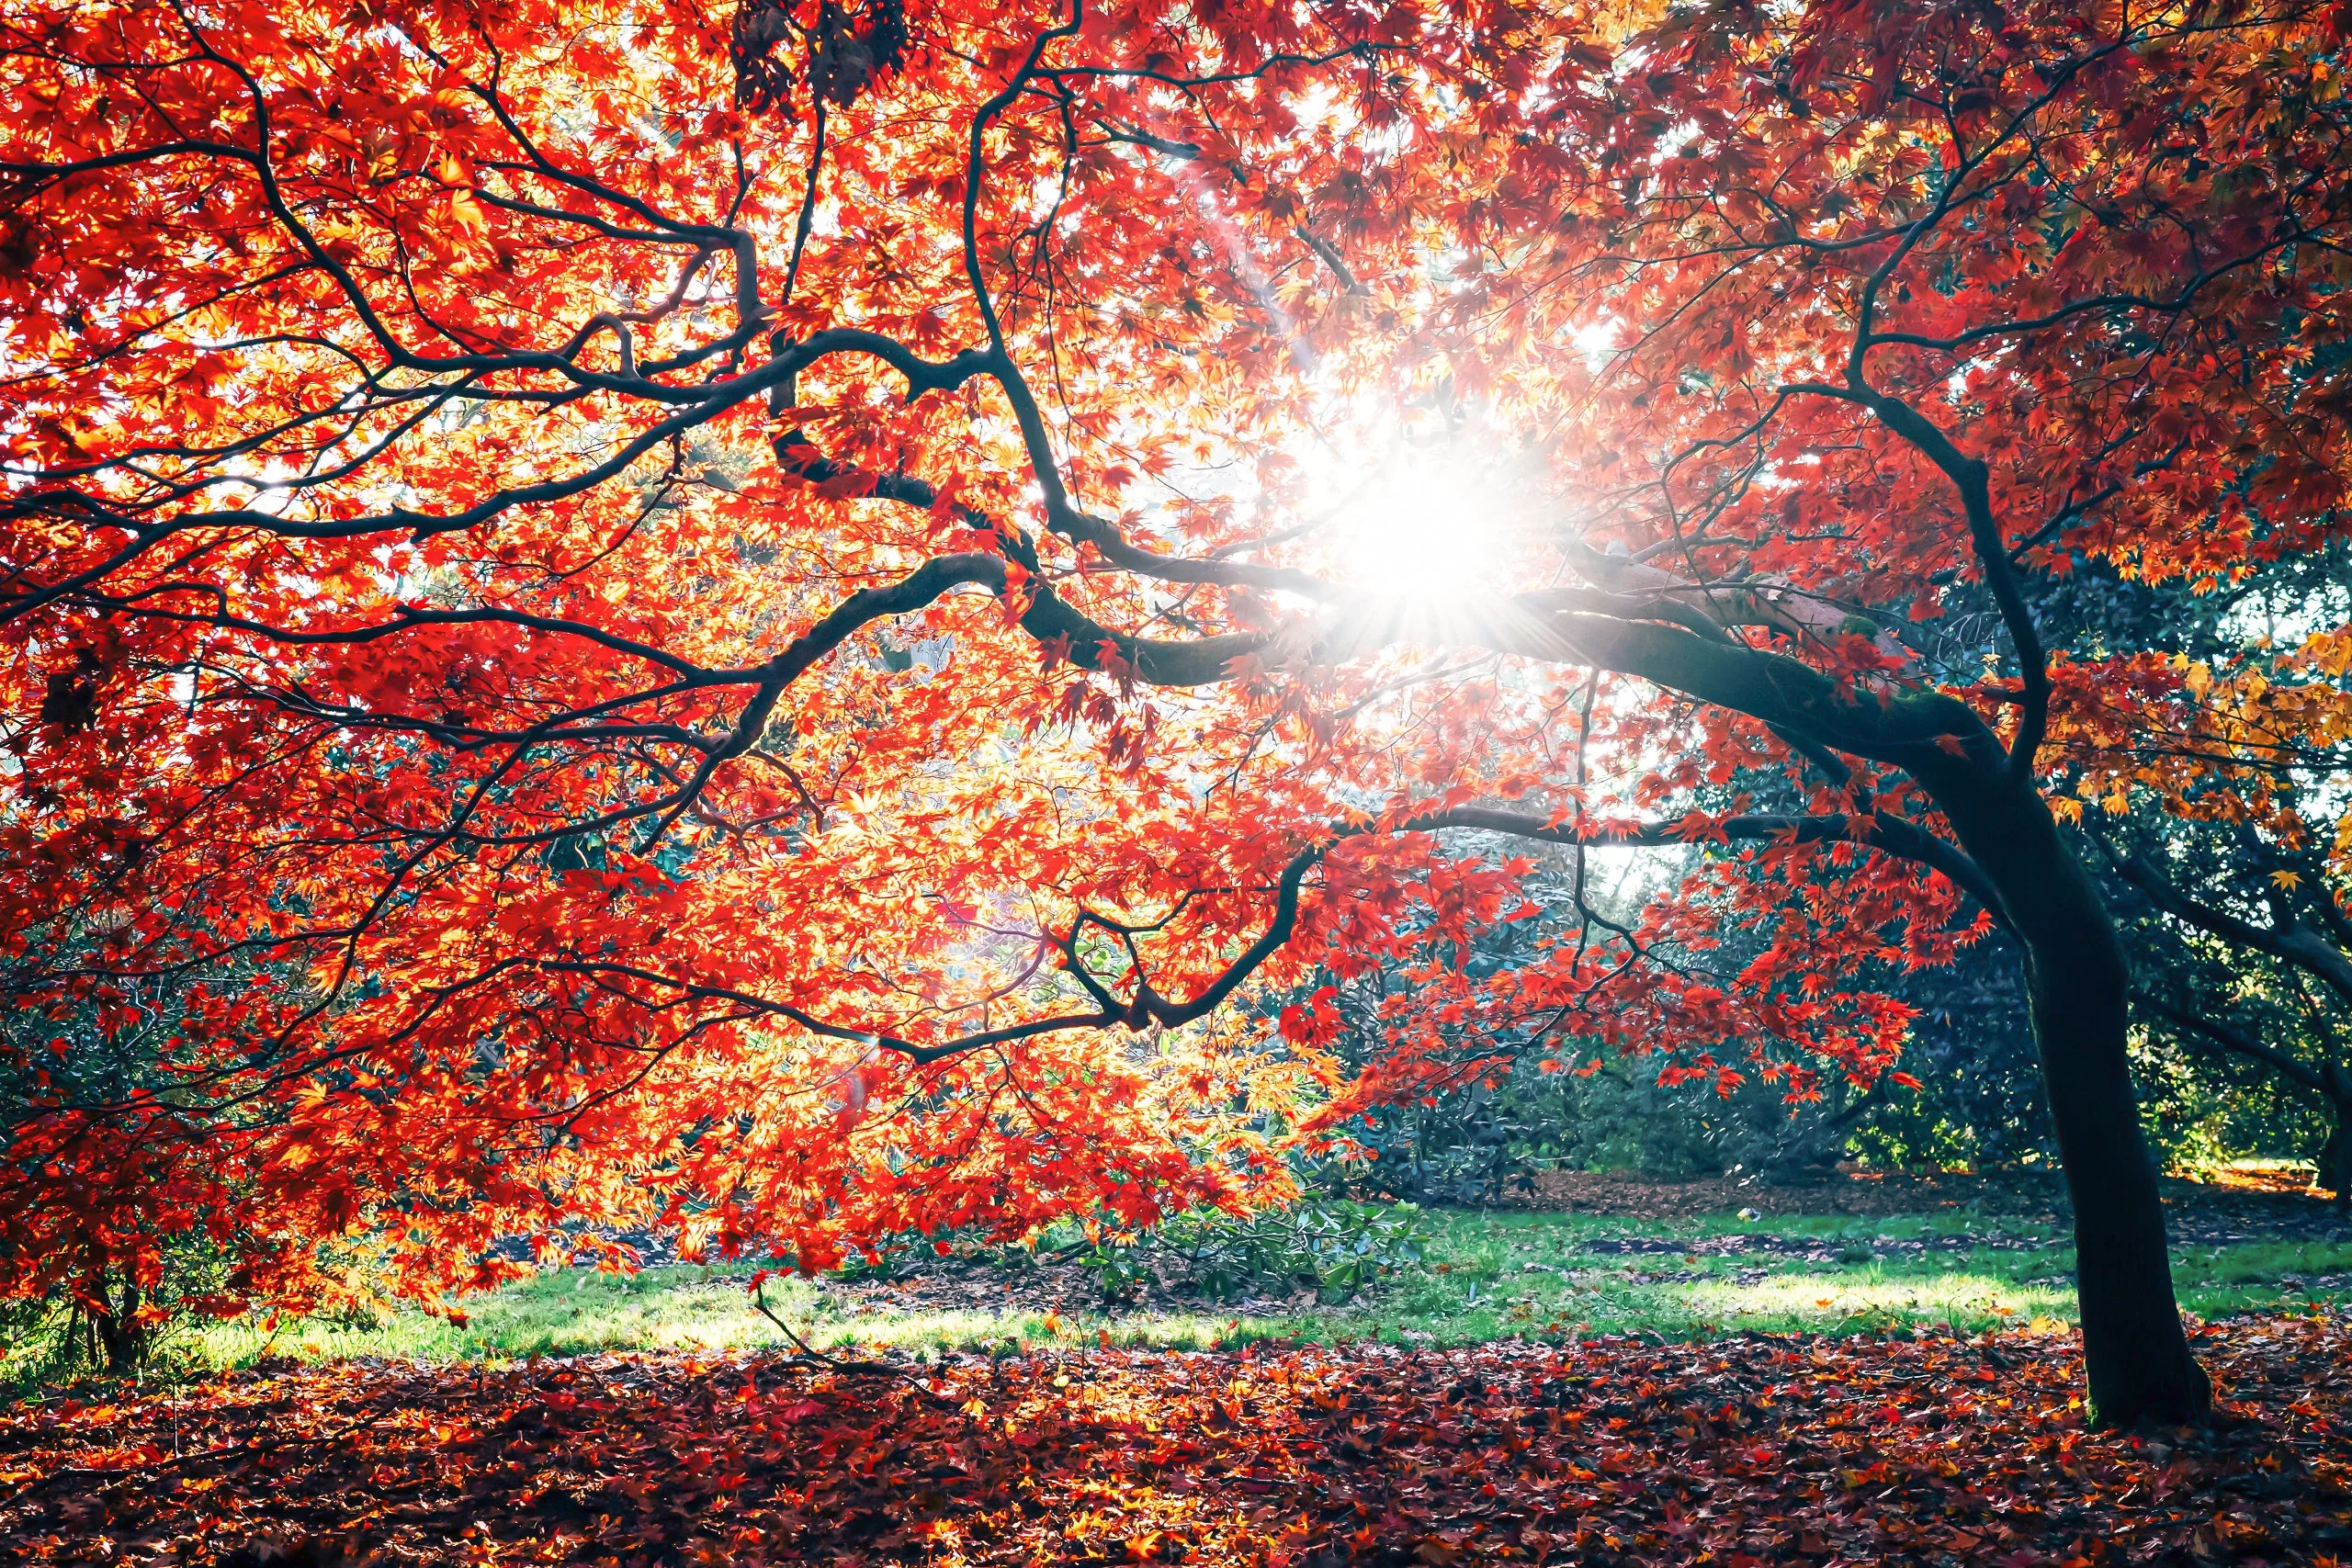
Planting Guides How to Plant Japanese Maples
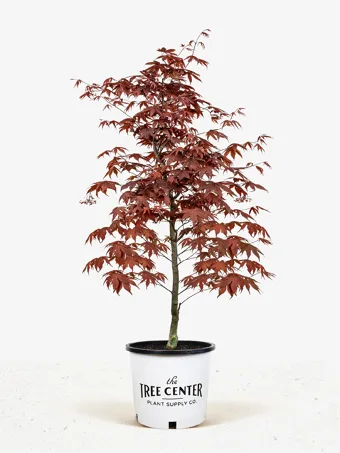
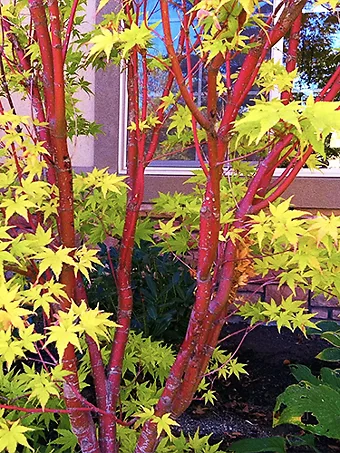
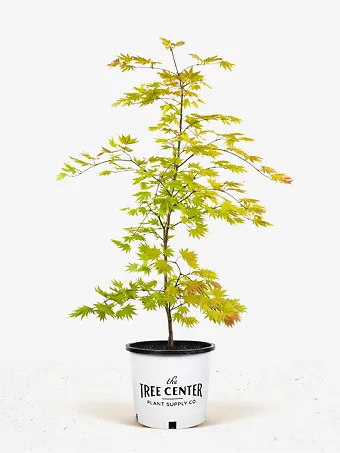
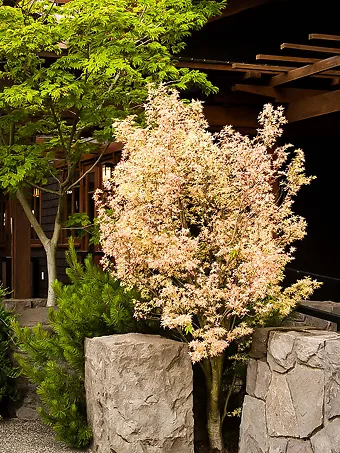
With their large diversity in sizes, leaf forms, shapes and eye-catching fall colors in a range of robust hues, Japanese maple trees are sure to be the stars of the garden, adding interest all season long. Some varieties even have colorful bark. They rate as one of the most stunning and desirable trees and shrubs for gardeners everywhere. When properly planted and cared for, even beginner gardeners will have success growing Japanese maples. Continue reading because we take the mystery out of planting your Japanese maple, giving you all the tips to get it off to the best and healthiest start so it will be a show-stopper in your garden for years to come.
In a Nutshell
– Remove all the packaging
– Water the Japanese maple in its pot
– Choose a suitable planting site for the needs of your tree
– Prepare the soil
– Dig a hole the depth of the pot
– Put the Japanese maple in its hole and replace most of the soil
– Water well, let the water drain away and put back the remainder of the soil
– Place mulch around your Japanese maple and water regularly
Getting Your Japanese Maples Ready to Plant
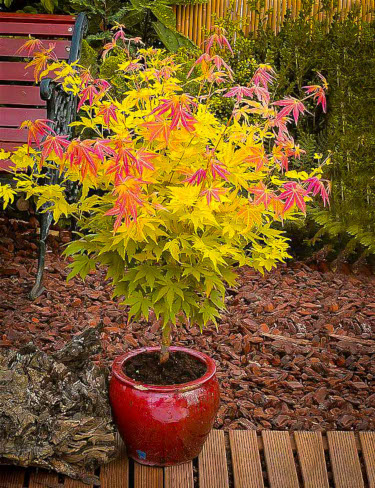
If the Japanese maples you received were not in pots, but with their roots wrapped in burlap (which is a method called Ball & Burlap, or B&B) do not remove the wrapping until you actually plant.
If you received the Japanese maple during winter, your tree will not have any leaves. However, you can still plant as long as the ground isn’t frozen. Do not worry because this is normal for Japanese maples as they are deciduous (drop their foliage in winter) and once the warm weather of spring arrives, your tree will spring back to life with a new flush of leaves and growth.
In addition and so you don’t damage your Japanese maple, always move it around by picking up the pot. Do not lift it by the trunk or stems. If your tree arrived with the roots wrapped in burlap, lift the tree by the ropes and do not remove the burlap until you plant.
Care Before Planting Time
Once you get your tree unpacked, place it in a shady location in your garden and be sure to water well. To maintain its health and regardless if it’s cold outside, don’t place the maple in your garage, shed, or inside your home. The tree will happily live in its pot or burlap wrapping for quite a while as long as its properly cared for. The biggest thing to remember is to water the maple and not allow the soil to completely dry out. Depending on your local weather conditions, this might call for watering every day to every other day.
You can easily check the soil’s moisture by sticking your finger into soil and if the top inch feels dry, give the tree a good soaking. To keep the roots of Ball & Burlap trees moist, gently apply water to the bagged area. You do not want to water with a forceful stream or you may remove the soil from around the roots.
If your Japanese maple is going to remain in the pot or burlap for weeks before planting, you can harden it off to brighter conditions where it will be growing by gradually increasing the amount of light it receives. Just keep moving it to brighter light conditions every few days or weekly. By the time you are ready to plant, it will be adjusted to the light conditions the planting site receives.
Choosing a Planting Location
When selecting an appropriate location to plant your Japanese maple, you will want to choose a location where it will permanently grow for years to come and meet the tree’s preferred requirements for healthy growth. These trees put on a riot of color, so you might consider areas where they are focal points allowing their magnificent splendor to shine the brightest.
The first thing you will want to consider when selecting a planting site is the particular maple’s mature size and growth habits. To prevent potential problems with diseases and pests, you will want to allow adequate air circulation around the maple. This means you do not want it crowding against a wall, fence, structure, or bunched against other shrubs and trees, which also eliminates the need to prune branches that get in the way. You also do not want to plant it where it will receive strong winds.
In addition, do not plant the Japanese maple on your property line, as it can encroach on your neighbor’s property and they will have the right to prune it. Once again, consider its mature size and width and plant far enough from the property line where the tree can achieve this size and remain on your side of the line.
Consider that Japanese maples with an upright growth habit can grow as wide as they grow tall, evolving into small trees. However, those with a weeping growth habit usually grow wider than they grow tall and make attractive specimens used around a pond or sloped area.
Another important factor to consider when selecting an appropriate location to plant is the amount of sunlight the area receives. A site that receives sunlight throughout the morning hours and some shade during the afternoon is ideal. However, Japanese maple varieties producing red leaves will have the deepest color year-round when receiving sunlight during the day. Check our website under the tree’s description for preferred sun requirements, as some Japanese maples tolerate more than others do.
Preparing the Planting Site
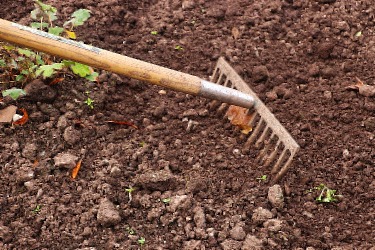
The first step in preparing the planting site is clearing it of any unwanted growth from weeds and grasses. You can do this by either pulling the vegetation out by hand or using a hard rake. If you decide to kill the weeds and grass by using an herbicide, wait at least two weeks before planting to make sure the vegetation is dead and then remove it from the site. Prepare an area that is around 3 feet in diameter, so there is no chance of the trunk becoming damaged through the use of yard equipment.
Cover the planting site with about 6- to 8-inches of an organic material like well-rotted manure or compost and work it down and into the soil about a foot. This allows the roots an easier time spreading out through the area and increases drainage.
However, if the area has a tendency to retain water or your soil is heavy like clay, you will want to create a mound that lifts the Japanese maple’s roots out of the wet conditions. Amend the soil with the organic materials and then create a mound that is about a foot tall before planting.
Preparing the Tree
For the best success when you plant your Japanese maple, thoroughly saturate the root ball with water the evening before you plan to plant. It is better to have the root ball hydrated with water when you plant it in the ground than having it completely dry.
Digging the Hole
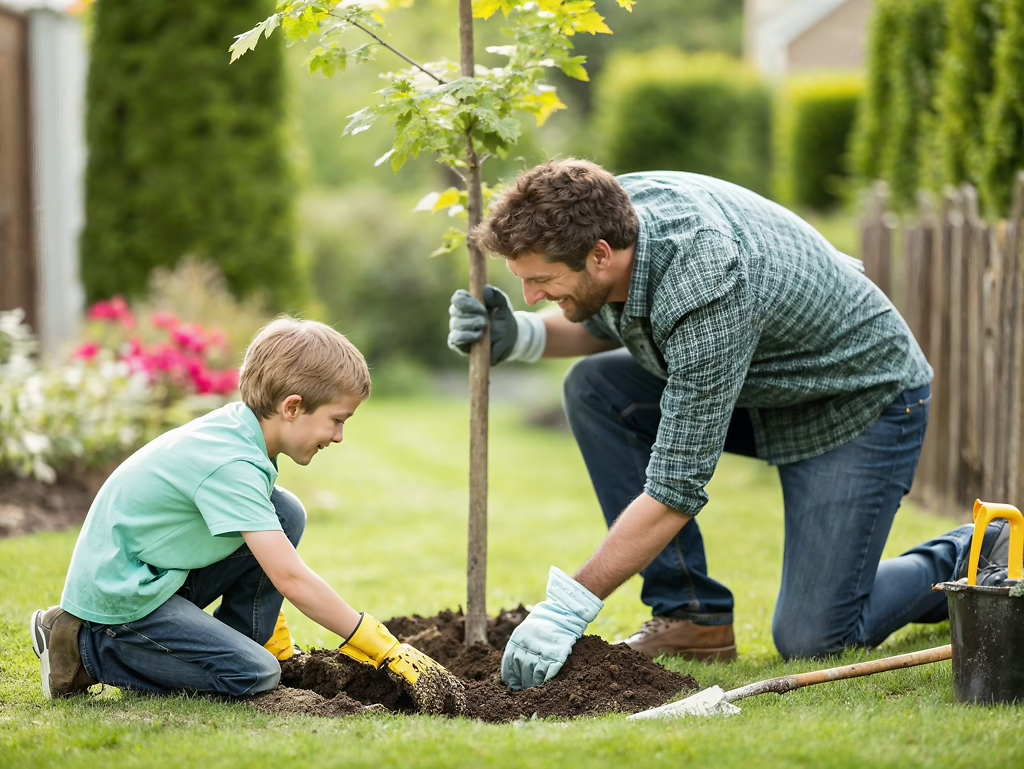
Next, you will want to dig the hole to plant the Japanese maple. Dig a hole that is several times wider than and as deep as the pot. You do not want to plant the Japanese maple any deeper than it was originally growing, as it puts a strain on the tree and can impede proper growth. If the hole is too deep, just backfill with soil until you achieve the proper depth and then plant.
Removing the Pot
Depending on the size of your tree and so you do not damage any branches, you may need someone to hold the Japanese maple while you remove the pot. It should slide off relatively easy from the root ball, but if not, usually tapping the sides of the pot will the release the root ball from the container. If the pot proves stubborn and does not slide off easily, you can carefully cut off the bottom using a knife or box cutter.
For Ball & Burlap trees, allow the cloth covering to remain in place until you do the actual planting.
Planting Your Japanese Maple Tree
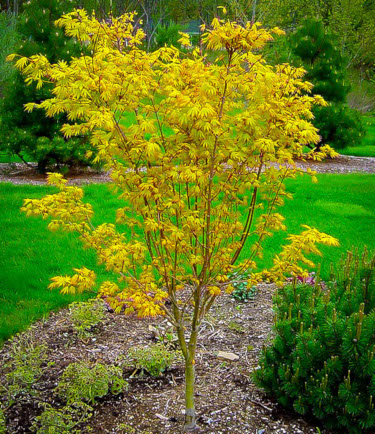
If planting a Ball & Burlap tree, position the tree with the cloth covering intact inside the hole. Using a sharp knife, cut through the ropes or strings and remove them. Cut down the sides of the burlap and remove. Do not worry about any left under the tree, if it is the traditional cloth burlap. Just push it down into the soil and it will rot over time and not impeded the tree’s growth. However, if it’s not the traditional cloth burlap you need to remove it, as it will not breakdown in the soil. Have someone help you hold the tree as you slip the product out from under the root ball.
Watering the Tree
Before you finish filling the hole with the remainder of the soil, you need to water the hole to help settle the soil around the roots and give them an additional drink. Fill the hole with water and allow it to drain completely.
Finishing the Planting
Once the water has drained from the hole, backfill with the remainder of the soil. Once the hole is filled, firm the soil up around the base of the Japanese maple using your foot. Make sure the planting site is level and the soil does not slope away from the tree. Water then can saturate the root system and not flow away and into the lawn.
Although not necessary, you can form a soil dam that is several inches high around the outer diameter of the planting site, which helps retain the water directly over the root system.
To help cut down on unwanted growth of vegetation and help the soil retain moisture, apply a 3-inch layer of organic mulch over the planting site, spreading it evenly. Just be sure to keep the mulch pulled several inches away from the Japanese maple’s trunk. Water the planting site again, being sure to thoroughly saturate the root ball.
Staking Japanese Maple Trees
It is not necessary to stake the tree. However, if your Japanese maple has a cascading growth habit, you can stake a few branches and keep it upright, which leads to a taller, multi-tiered tree. When staking your maple you will need two stakes that are around 5 feet tall, a hammer and tree staking straps or another soft material like canvas strapping. Do not use ropes or wire as it can damage the tree by cutting into the trunk.
Place the stakes on opposite sides of the tree and about 1.5 feet from the tree’s root ball. Hammer the stakes into the ground about 18 inches and place the straps around the tree and then around the stake in a figure eight position. This allows the trunk some leeway as it moves with wind. You do not want to tie the rope tightly and directly around the trunk or damage can occur.
Planting in a Container
Most Japanese maples grow quite well planted in containers or planter boxes, as long as the container drains. They dress up a porch or entranceway with their unique forms and brilliant colors. When transplanting from the original container, repot into one that is one to two sizes larger and the maple should grow happily for several years before it will require a bigger pot. Use a fertile potting mix that drains well and be sure not to plant the maple any deeper than it was growing in the original pot.
After planting, water the container’s soil until it runs from the bottom drain holes. Japanese maples grow best in moist soil that drains well, so depending on your local weather conditions you may have to water several times each week. Stick your finger into the soil and if the top inch feels dry, apply water.
You can fertilize your Japanese maple in spring and early summer using a product like fish emulsion, blood or bone meal. Follow package directions on amounts for your particular sized tree and do not use a product high in nitrogen. You can also use an all-purpose, water-soluble liquid fertilizer applied at half-strength. Do not apply too much or the leaves can suffer burns.
If you live in the coldest hardiness zone for your particular Japanese maple, you will need to give it some protection during the coldest months of winter. The biggest goal is to protect the roots. Although you might be tempted to bring your maple indoors, this isn’t the best course of action to take due to the dry, hot air indoors. If you have a protected greenhouse you can place the potted maple in there, otherwise, bury the entire pot in the ground in a location in the garden that is protected from strong winds.
Follow-up Care of Japanese Maples
Although Japanese maples don’t perform well in soils that are constantly soggy, they do like consistent moisture for the best growth. Once planted, it takes around three or four months for the root system to establish itself in its new planting site, so it requires regular water. For the first few months, water twice weekly. Thereafter, and depending on your particular location’s weather, give the maple a deep soaking once to two times weekly, especially if your conditions are hot and dry.
Japanese maples do not require large amounts of fertilizer or frequent feedings, so fertilize in spring using a slow-release blend for trees, applied at the rate suggested on the particular product’s label. You do not want to use a product high in nitrogen.
Each spring replace the mulch with fresh, remembering not to allow it to butt against the trunk to prevent potential disease problems. The only pruning that is needed is to remove any broken or damaged branches, or any that are crossing each other. Always sterilize your pruning tool blades by wiping them off with alcohol before making your cuts so you don’t transfer disease to your Japanese maple.
By giving your Japanese maple the best start possible, it will reward you with years of healthy growth along with its colorful splendor. Its dazzling beauty will make it the true rock star of your garden.


Comments 18 comments
My tree is very crooked at the bottom of the tree very disappointed ☹️ whated one that was straight for what I paid. I knew I would get one that was not straight did they have their eyes open when they picked this one. If it not so crooked it would be a great tree.
Does the Golden Full Moon Japanese grow along side Black Walnut trees without any impact from the juglone?
Great advice – thank you!
We received our Japanese Maple and Dogwood yesterday afternoon and planted both last evening. The tree appeared to be bare rooted in a container of soil. It was not bound as if it had been in soil. This may be fine, but wanted to give you a heads up in case this is not the typical or recommended manner to receive a tree.
Also it came with a small stake attached. Should this remain until established or should it be removed?
Thanks for your input.
Is the Acer palmatum, “Purple Ghost” Japanese maple suited for zone 5, in an area with full sun morning to dusk?
Tree not doing well, leaves are wrinkled at the top of tree. Would like to send a picture but don’t know how.
Do you leave the small stake attached to the Japanese maple after planting,I don’t want to hinder it’s growth. Does appear to help keep it upright from winds- please advise, thanks.
Wh have a beautiful omato we planted in a container with drai age and good air circulation. We have AM sun, for several hours which can get intense so.edays. the leaves are scorched at the tips only, and the new growth seems to be sensitive to the sun. Do I need to give more shade, or allow to acclimate?….the tree arrived a little over one month ago. We are in zone 9b.
Got my orangeola Japanese Maple Aug. 20 planted it the next day. It’s been in the ground 3 weeks and shows no signs of life. the leaves still look the same or worse than they did when I received it. Is this normal? I’m watering it twice a week like the instructions stated that came with it. Please advise. Thanks
We have a mature japanese maple tree (30 years or more). We have read you can plant azaleas under a japanese maple tree. what is the best way to do this? We have heard adding soil above the base is not good for trees. thank you.
I live in zone 9 but I wanted a Japanese maple really for a long time. Will it grow in our zone?
IAM IN ZONE 7,WOULD A DWARFED SIZEID ORANGEOLAWEEPINGLACELEAF JAPANESE MAPLE THRIVE IN A TREE PLANTER ON MY PATIO?
We received 2 small -4’- Japanese Red Maple and planted in pots. Both the leaves are shriveled and turning brown. What could be the problem?
The Japanese Maple Tree I got is still very small and young. I planted it in June. Winter is in its way. What do I need to do to protect this little tree it’s only about 3-4 feet?
The Japanese Maple Tree I got is still very small and young. I planted it in June. Winter is in its way. What do I need to do to protect this little tree it’s only about 3-4 feet?
My maple is looking burned. Leaves are getting crispy and dried out. She gets morning sun and shade in the afternoon. Regularly watered.
Any suggestions?
I heard that if the Japanese maple blooms full to early that it’s preparing to die because it has used up all the nutrients in the ground around it is this true and what’s a good nutrient source
Reviews were not good. I wish I read them before I ordered 1 hour ago