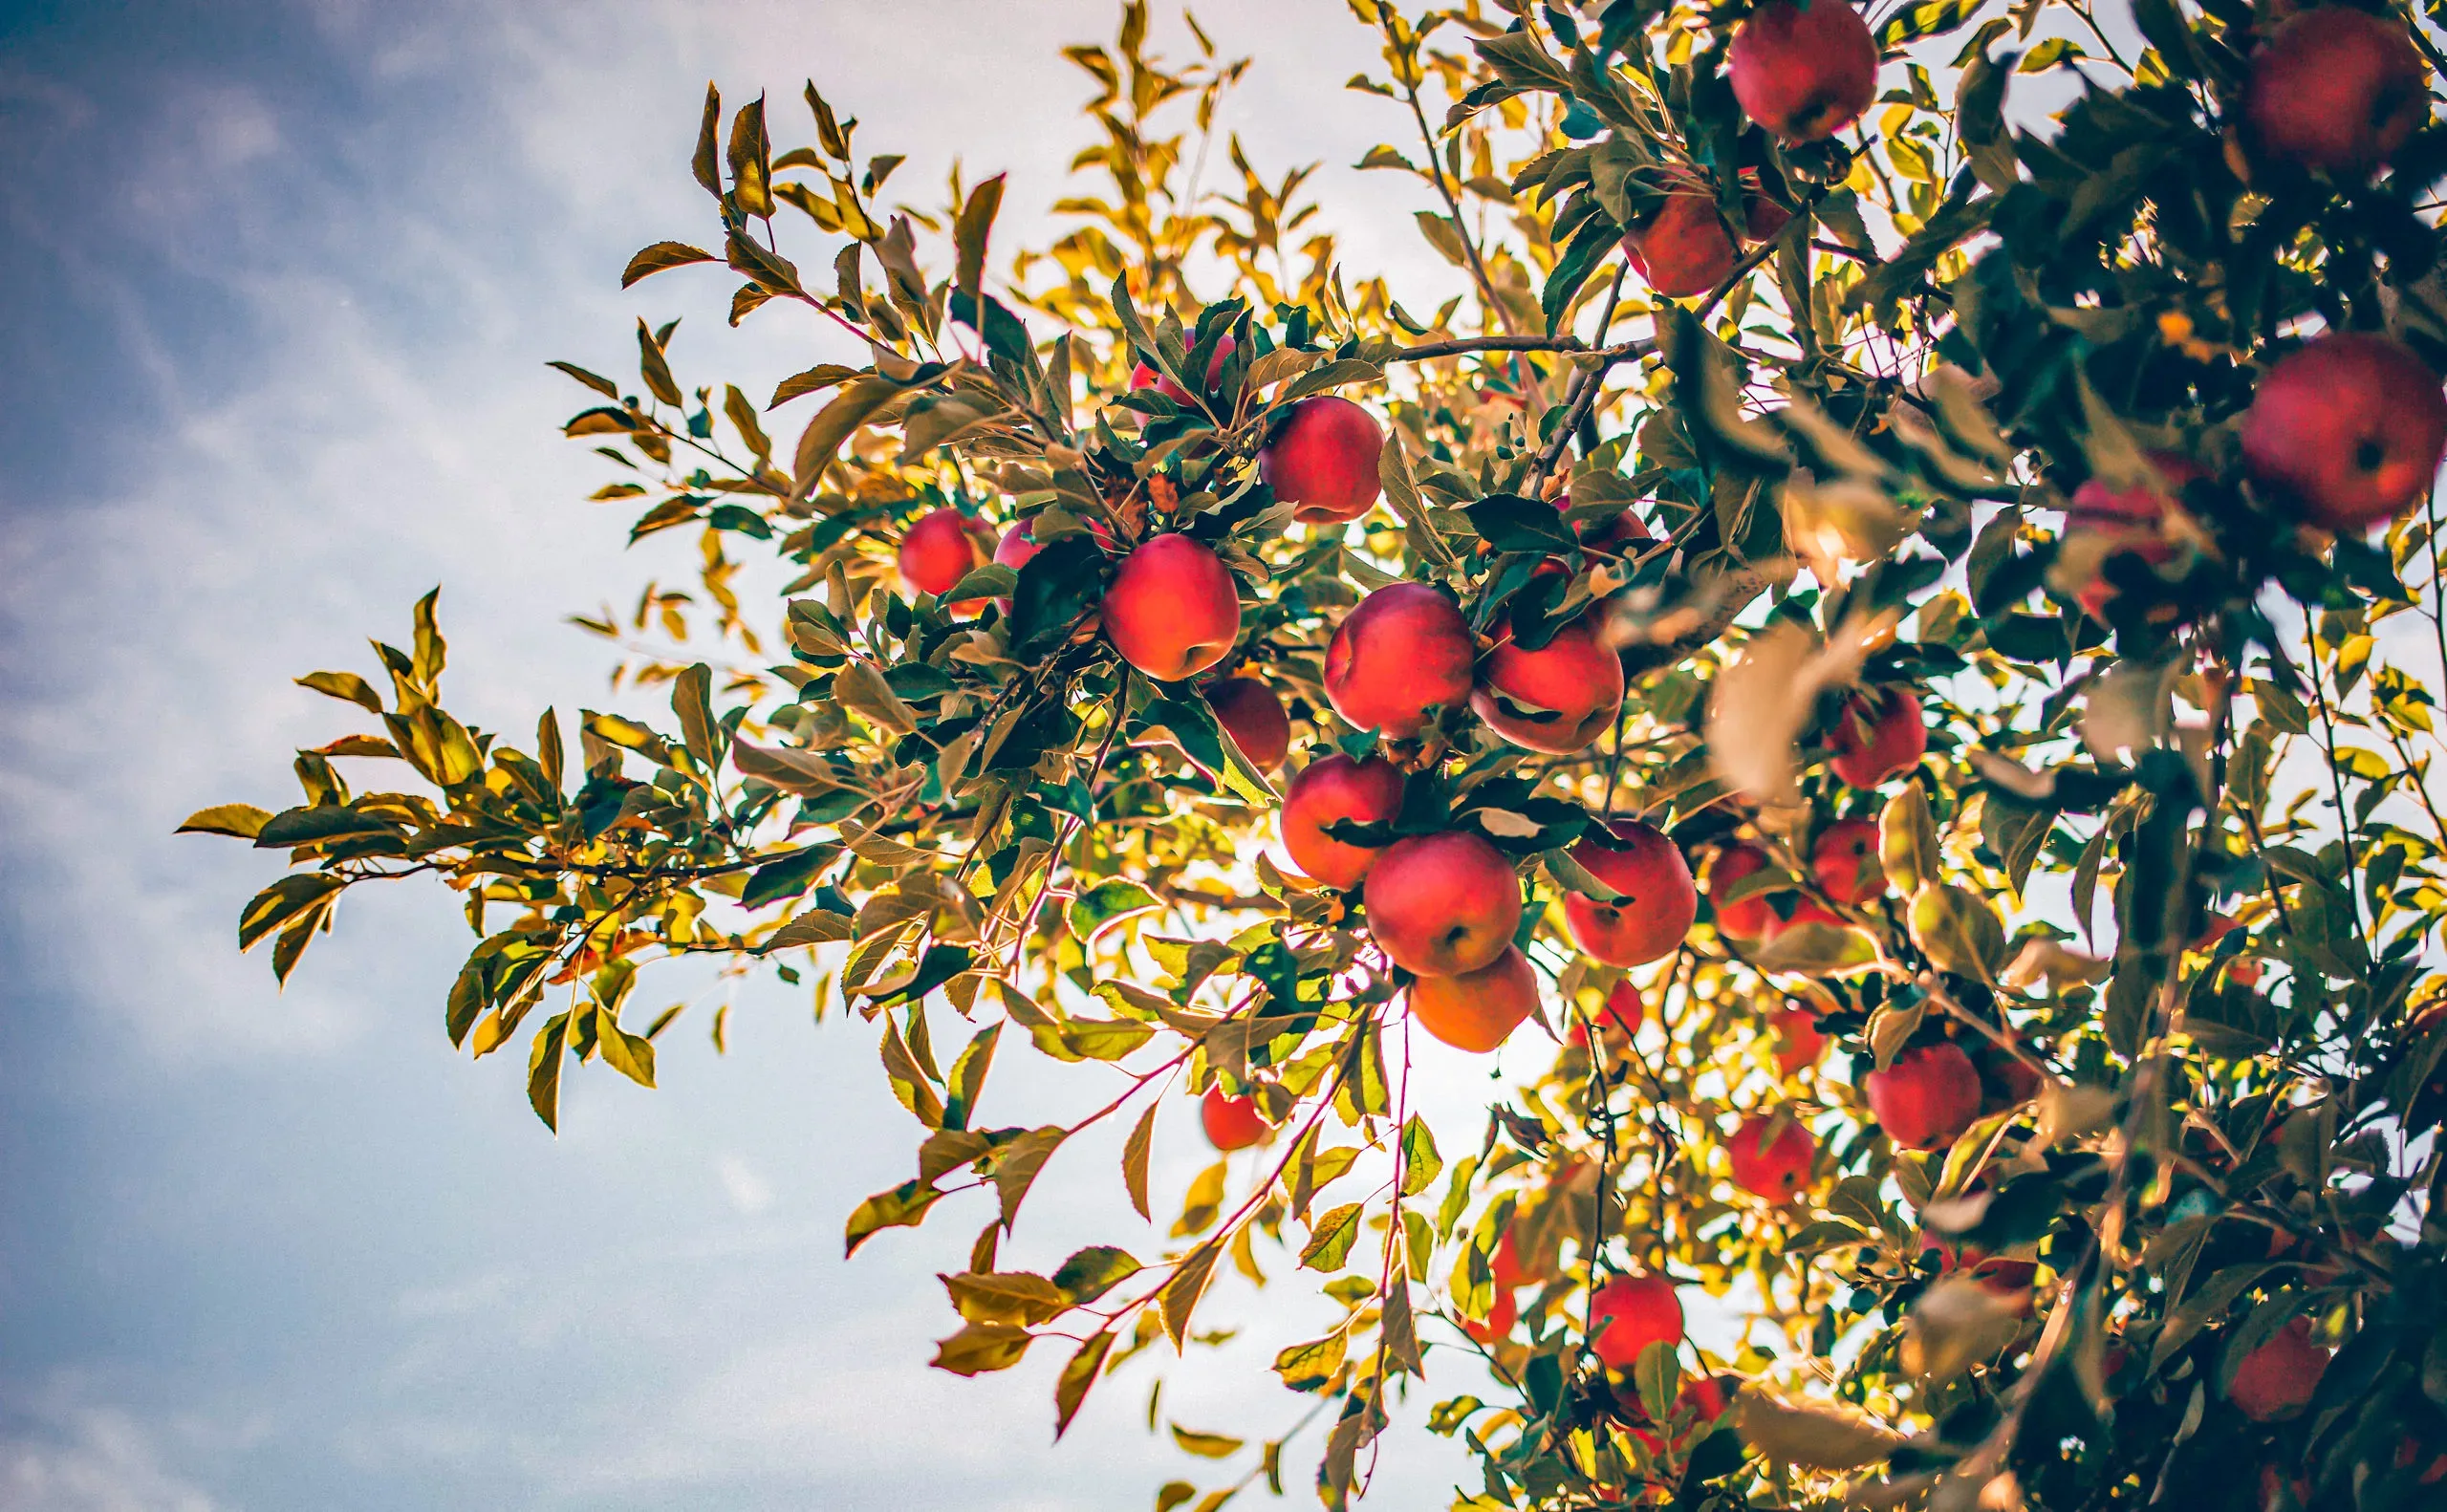
Planting Guides How to Plant Apple and Pear Trees
You have decided to grow some fruit trees and the moment has arrived – your new trees are here. Growing fruit trees is not difficult and the fun of growing your own fruit, knowing exactly where it has come from, what has been done to it and harvesting it fresh and ripe straight from the tree is one of the big thrills of gardening. In a short time that is exactly what you will be doing, so here are some tips and points for making sure your trees have the best start possible.
If your tree is not in a plastic pot, then you need to use our planting guide for bare-root or ball & burlap trees for the actual planting process – see our list.
In a Nutshell
– Remove all packaging
– Water the tree in its pot
– Choose a suitable planting site
– Prepare the soil
– Dig a hole the depth of the pot
– Prepare the roots to prevent girdling
– Put the tree in its hole and replace most of the soil
– Water well, let the water drain and put back the rest of the soil
– Put a mulch around your tree and water once a week for the first season
Getting Your Apple or Pear Trees Ready to Plant
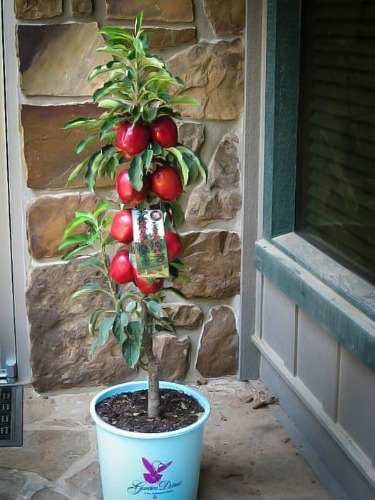 The very first thing to do is un-wrap your trees. Remove all the wrapping materials, remove the trees from the box and remove any wrapping around the trees themselves. If you see that your tree is growing in a plastic pot, you are reading the correct guide.
If you receive your trees in winter – which is a great planting season as long as the ground is not frozen – then of course they will have no leaves on them. That is normal – as soon as spring comes your tree will send out its fresh, new leaves and begin to grow.
Move your plant around by picking up the pot – do not lift it by the trunk or stem.
Care Before Planting Time
Your trees have been on a journey and they will be a little stressed, so place them in a shady part of your garden and give them a good watering. Do not put them in the garage, a shed or in the house, even if it is cold outside. Do not remove them from the pot. If you are not going to be doing the planting for a little while, that is fine, they will be happy in their pots, but after a day or two in the shade, move your trees to a sunny location.
Remember to water every day or every second day, depending on how warm the weather is – do not let the pot become completely dry, but do not water a plant that is already damp. If the soil becomes very dry, place it in a bucket and half-fill the bucket with water so that the soil can soak completely.
Choosing a Planting Location
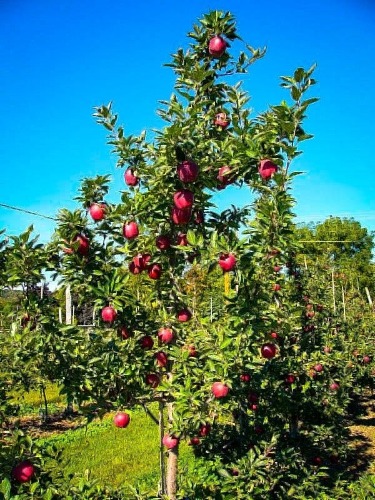
Apples and pears need similar care and they are both trees particularly suited for cooler areas. The best location is an open, sunny area with some shelter from cold winds. If you can, do not plant in a hollow or in low-lying ground. Your tree prefers well-drained soil and low areas can be frosty in spring and cause damage to the flowers.
Your tree needs room to grow and have the fruit in the sun, so allow 15 to 20 feet total width for your tree. Do not plant too close to other trees and allow for their growth too, if they are young. Don’t plant near a fence or your property boundary as a neighbor has the right to cut off any branches (or pick any fruit) that hangs over their property.
If you are planting a group of trees, allow 20 feet between the rows and 15 feet between the trees. If you are planting Columnar Apple Trees, then these are much smaller and need only 3 feet between plants.
Apples and pear do best in cooler regions – zones 5 to 7 – although some, like the Honeycrisp Apple Tree are hardy into zone 3, while others, like the Anna Southern Apple will grow into zone 9. If your area is a little cold for the variety you have chosen, growing it in a pot or trained on a wall are great solutions and will give you the best crop. See our blog on Growing Trees and Shrubs on Walls for more information on growing plants on walls. Pots and walls are also ideal places for growing Columnar Apple Trees.
Do I Need a Pollinator?
Most apple and pear trees need another, different variety to produce a crop, although some, like the Gala Apple, do not. In many places neighbors may have apple or pear trees in their yards, and these trees can act as pollinators for your tree, crab apples trees are also pollinators for apple trees and those may be growing nearby too. Any tree within 100 feet of yours will likely be a perfect pollinator, so if you are planting just one tree, wait until it flowers to see if you really do need a pollinator.
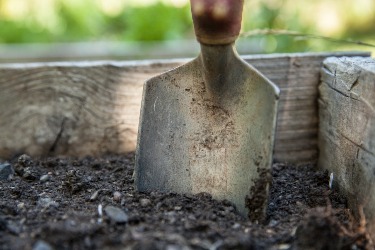
Preparing the Planting Site
 Good soil preparation is the key to the success of your tree. Apples and pears prefer a soil that is neutral or slightly acid, so do not add lime to your soil, or any materials that have lime added to them, unless the pH of your soil is below 6.0. These trees are easy to grow, so they will also grow well in slightly alkaline soil.
If you are planting against a wall, prepare the planting site right against the wall.
You goal is to make a large area of looser soil that the young roots can penetrate easily, getting food as they go and establishing quickly. You need to have an area at least three times the diameter of the pot dug as deep as your spade will go. Add some organic material to the soil as you dig. Almost any kind of organic material is good, among the best are well-rotted cow, sheep, or horse manure (if you can obtain them); garden compost; any ‘top-soil’ from a garden center; or if you have nothing else, peat-moss. A bucket per tree is about right, but any amount you have is worthwhile. In addition, trees need fertilizer to help develop their roots. This can be rock phosphate or bone-meal or any kind of superphosphate. There are many ‘tree planting’ fertilizers available too and they all work well, so whatever is available will be fine.
Remove roots of weeds from the area and any stones bigger than your fist. Smaller stones can be left and it is not a good idea to sieve the soil to remove smaller stones they are best left in and can help with drainage.
Turn over the soil, mixing the organic material and fertilizer into it and then level it off and get ready to plant. Save some of the organic material you used to mulch your tree after planting.
Preparing the Tree
The evening before you are going to plant, give the pots a good soaking with water. If the root ball is dry when you plant, it may stay that way and cause your tree to suffer from dryness even if the surrounding soil is damp.
Digging the Hole
Now dig a hole in the exact spot where you want your tree to be, making it two or three times the diameter of the pot, but only just as deep. If you have dug the soil deeper than that, use your foot to press down the soil in the bottom of the hole, to form a firm base beneath the tree. This is to prevent it from sinking deeper than you want in the hole after you have planted it.
Removing the Pot
Take your tree to the planting hole and slide the pot gently off. You may need to tap the edge a couple of times to release the roots, but it should slide out pretty easily. Usually there will be plenty of roots filling the pot and the root-ball will stay together and not fall apart at all.
If it looks like the soil is going to fall off the roots, don’t worry, that is easily dealt with. If you tree is dormant, with no leaves, then just let any extra soil fall into the planting hole. If your tree is growing, with green leaves, then leave it in the pot, take a sharp knife and cut around the bottom of the pot and remove the base. Then get someone to hold the pot together while you cut down the side of the pot. Tie a piece of string around it to hold it together while you plant.
Preventing Root Girdling
A lot of problems can be caused later in your tree’s life if the roots grow around the developing trunk, a condition called girdling roots, so an important next step is to prevent that. There are two ways to do this:
Option #1 If your tree is dormant, has no leaves on it and no buds that are already looking fat and green, then you can gently pull apart the roots, so that they are spread-out, not circling around the root ball.
Option #2 If your tree has leaves, then take a sharp knife and make three or four long cuts about one inch deep down the sides of the root-ball, from top to bottom. Don’t be afraid, you will not hurt the tree.
The reason for doing these things is to encourage the roots to grow outwards from the tree, not to continue circling around, which in time, as the trunk and roots grow thicker, can literally strangle your tree and eventually kill it. If you have looser soil with no roots circling around the root ball, then this step is not necessary.
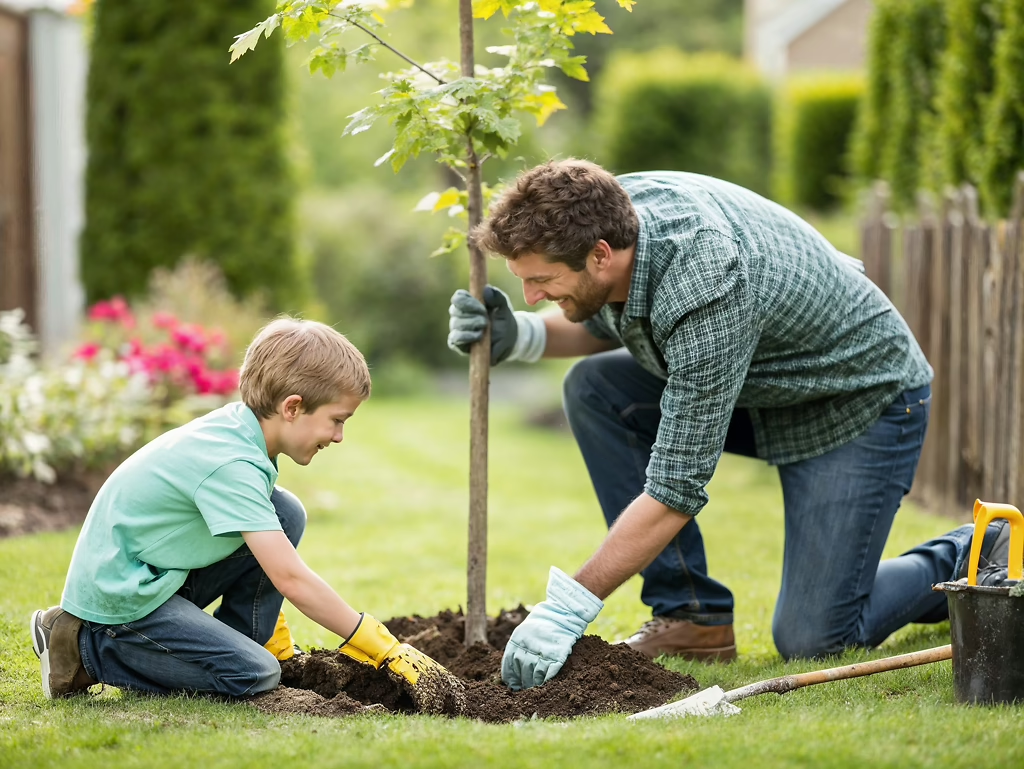
Planting Your Apple or Pear Tree
 Now place the tree in the center of your hole, checking that the top of the root-ball is level with the soil around it. Replace about three-quarters of the soil in the hole, pressing it down around the roots of your tree. If you have left the pot on, do the same thing, but when you have finished, cut the string holding the pot together and gently work the cut pot out of the soil. Finish firming down the soil – a gentle foot pressure or firm hand pressure is about right.
Watering the Tree
Now fill the hole with lots of water, letting it soak down into the ground and into the root ball. Use plenty of water and then wait until it has all drained away. This will give plenty of water around the roots, where it is needed.
Finishing the Planting
Now put back the rest of the soil, firming it gently down. Make sure you have only covered the top of the root ball with a very little soil, no more than one inch. If you can still see the top of the root ball, that is fine. Make sure the soil is not sloping away from the tree, but flat, so that when you water it will stay around the tree, not run away. Some gardeners like to make a low wall of soil around the tree, at a spot about twice the diameter of the pot, to retain water. This is a fine thing to do, but not absolutely necessary. Put a layer of organic material over the root area, about two inches deep and then water the whole area thoroughly.
Planting in a Container
Apples and pears can also be grown in large pots or planter boxes and they will live well for many years in a large pot. Make sure the container you choose has drainage holes, this is vital. A container 18 to 24 inches across is an ideal size. Use a soil for outdoor planters from your local garden center and make sure your container is large enough for there to be soil beneath and around the root-ball. Water the container thoroughly after planting and then whenever it starts to become a little dry on the top layer. Use a tree fertilizer each spring. Leave your tree outdoors in the winter; it needs a period of cold weather.
Staking
Normally staking is not necessary. Modern arborists prefer to let the wind strengthen the tree, and stakes often cause breakage of the upper part of your tree. However, the Columnar Apple Trees do need a strong stake to give them permanent support. This should be at least six feet above the ground, after you have driven it well down.
For regular young tees in a very windy location two short stakes, well driven in but showing just a foot or so above the soil, can be used. Place these on opposite sides of the tree, outside the area where the roots are. If the prevailing wind is, for example, the north, then place one stake on the north side and one on the south side. Wrap some cloth around the trunk to protect it and tie a strong rope from each stake to the trunk. Some remaining movement is fine, the tree does not have to be held rigidly, and in fact that is not a good idea. Do not tie a stake high up into the tree. If you have used a stake for a regular apple or pear tree, remove it after one growing season, once the roots are well-established.
Follow-up Care of Your Apple or Pear Tree
Until your tree is established and has spread out its roots, it will need regular watering. How often depends on the weather, but a good, slow soaking once a week is usually best, or twice a week if the weather is hot. Soak the whole area around the tree, not just up against the trunk
So that is it. Your new fruit tree is set for a great life and will reward you with vigorous growth and a bounty of delicious fruit. A little care really pays off. See our blog on Growing Apple Trees for more information on pruning and training your new tree.
Comments 14 comments
I can’t find your zones on your website
I live in central Texas
I want an apple tree
What smaller pear trees would grow in North Dakota? If I only want two trees what would you recommend to ensue pollination?
I bought a crabapple tree and I live in zone 9. Should I maybe get a replacement? Sounds like it might not do well down here in South Georgia
i am interested in planting dwarf trees. also container trees.
Good Morning,
My name is Ebby. I live in Connecticut.
Great information, Thank You.
Since I am a first time tree grower, its very helpful.
I am planning to buy a Gala Apple Tree.
How long does it take for a Gala apple tree to produce fruit?
I heard that some dwarf trees yield quicker.
But May I know how long it takes from the tree I am getting from you.
Thank You.
Sincerely,
Ebby Antuva
Zones please!
Hi from England !
Really interesting reading , thank you – I’ve chosen and prepared the spot in my garden – hoping to buy my first little fruit tree tomorrow!
Our Bur Oak, Peach are doing fine but the apple tree has yellowing leaves and dropping leaves. Help.
Our Bur Oak, Peach are doing fine but the apple tree has yellowing leaves and dropping leaves. Help.
Your Zones are not shown?
In Northeast Georgia and purchasing numerous apple and pear trees lots of maples and Japanese maples for gardens around the house. Will dwarf apple container trees grow and be appealing tree bearing fruit on a terrace or patio area?
Planted my first tree on Father’s Day, yesterday. A McIntosh Apple. I appear to be in zone 7. I believe I followed most of these directions. I can’t wait to see fruit! I’ve read it takes three yrs though. Not sure of the age of my tree I got from The Tree Center. How would I know what age it is?
I live in Columbus Ohio what zone am I in & will a Granny Smith apple tree grow well here?
I live in Columbus Ohio what zone am I in & will a Granny Smith apple tree grow well here?
Planted my McIntosh in 2024, as indicated previously, now I’m purchasing a Granny Smith to, hopefully, cross pollinate the McIntosh. We’ll see what happens. McIntosh has grown quite well, although I see no sign of foliage. Just leaves.