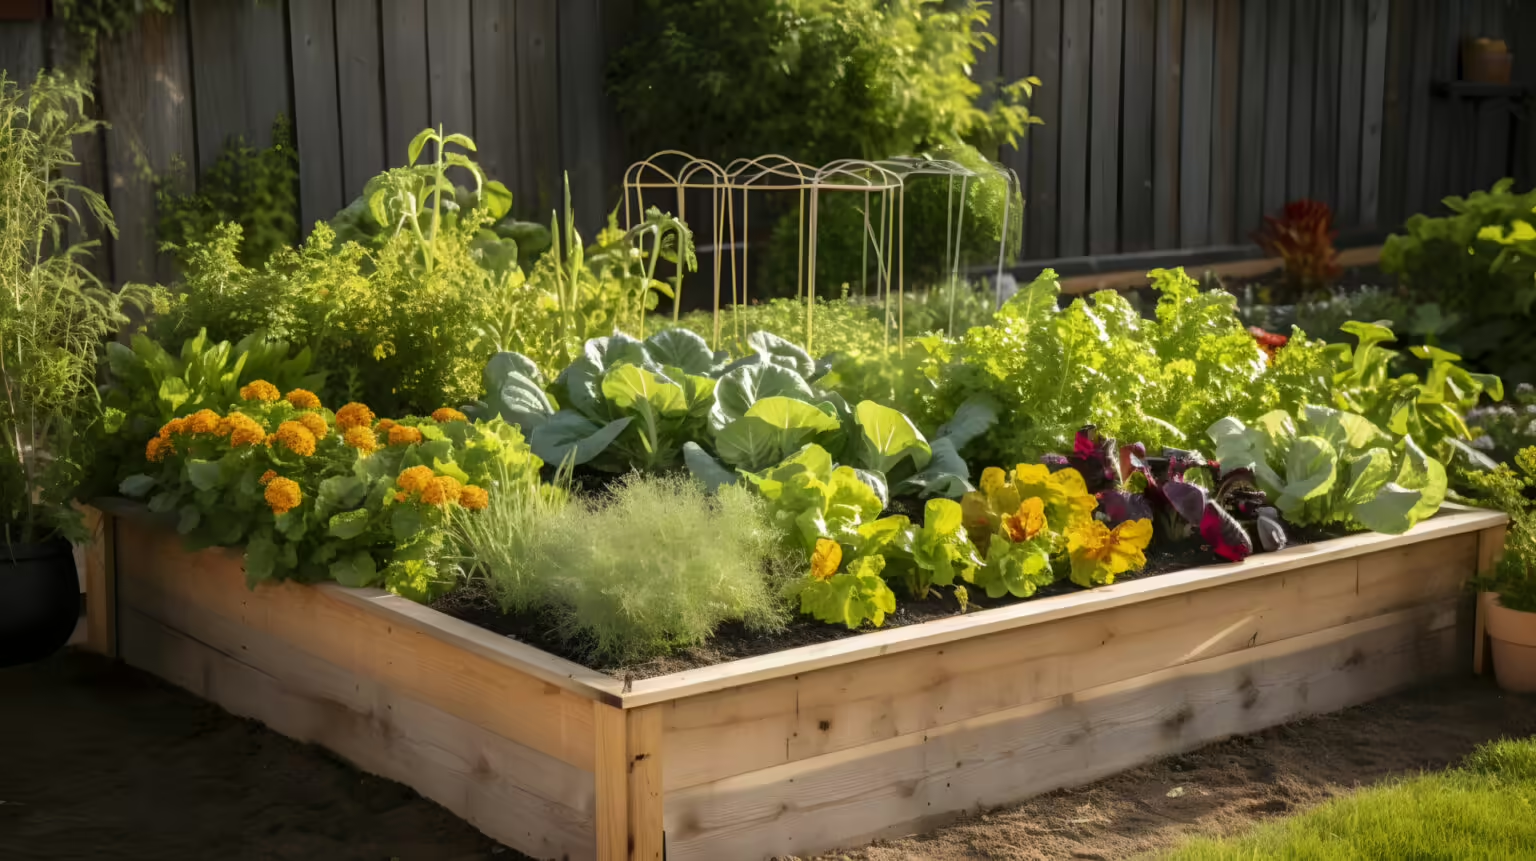
Written by s • 5 Steps to the Best Garden Beds Ever
Everyone knows that in real estate the secret is ‘location, location, location’, but many gardeners don’t realize that the secret of good gardens is ‘soil, soil, soil’. That doesn’t mean you have to have that perfect soil that other people always seem to have – it means that with the right input, almost any soil can be almost perfect. Like life, it is what we make of our soil, not what we get handed out, that really counts. There is no ideal soil to have, and almost any soil can be make much better, and able to grow a wide range of plants, with some work. So here we have some ideas on how to get the best out of your soil, and how to prepare planting beds that will grow plants far superior to anything you have seen before.
5 Steps to the Best Garden Beds
- Dig deep for treasure – the goodness falls to the bottom, so let the roots go for it
- Add organic material, whatever your soil – sand or clay, organic material is the miracle ingredient
- Add the basics – depending on where you are, basic nutrients can be in short supply
- Control the weeds – removing the roots of perennial weeds as you dig will reduce future weeding
- Follow up with rich mulches – annual top-dressing with some rich organic material will keep your soil healthy and your plants vigorous
Dig Deep for Treasure
Natural soil processes, especially water movement and drainage, carry nutrients deeper into the soil. Over time the spaces between the soil particles become smaller, and plant roots can’t penetrate it easily. These two effects mean that the best part of your soil is lower down, not in the first few inches. When preparing beds, you need to open up that treasure chest of nutrients to the roots of your plants, and to do that you need to dig deeply. The length of the blade of a full-sized spade is the minimum to aim for, and old-time gardeners had special methods, called double-digging, that allowed them to go down two full spade depths. Few of us today will do that much work but try it on a small area and see the result – you will likely be amazed.
Rototillers are the usual choice for bed preparation, and these save a lot of work, but they can fool you into thinking the job is done, when, in reality, you have only gone down a few inches. Hold back the tiller until it digs itself down as deep as possible, then let it slowly creep forward, staying deep. Take your time. You might need to go over the area twice if the soil is hard.
Add Organic Material to Every Soil
Rich organic materials, like garden compost or well-rotted animal manures, mushroom compost, and even rotted leaves, improve every soil as nothing else can. In sandy soils they hold moisture and trap nutrients, and in clay soils they improve drainage by binding the fine soil particles together. They feed the micro-organisms that are so vital, and they in turn release nutrients from the organic material for your plants. Your reliance on artificial fertilizers will be greatly reduced or eliminated if you enrich your soil with natural goodness. While digging or rototilling, spread a layer over the ground, and dig it well in. If you decide to double-dig, then incorporate it into the lower level too. A layer 2 to 4 inches deep is about right, but its hard to add too much! Ask around and see what local supplies there might be. Mushroom farms are excellent sources of compost, and so are dairy farms or stables. Your local city might have a composting program, and often residents have access to that for free, or at a reduced price.
Add the Basics to get a Balanced Soil
Many soils have a good balance of nutrients already – all they need is compost and digging. But some areas are low in basic nutrients, particularly phosphates, and a soil test will quickly give you the answer. Phosphates are easily supplemented during bed preparation, but its much harder afterwards, as they don’t work there way down into the soil the way most other nutrients do – you have to put them down into it. Bone meal is popular, but expensive. Various kinds of superphosphate are usually the best choice, especially for larger areas. The good news is that once added, phosphates stay for years, so you don’t need to keep doing it over and over. A lot of fertilizer is wasted on ground that doesn’t need it, so do a soil test first, and save yourself any wasted effort.
Control the Weeds
Weeds compete with your plants for nutrients, water, space and light. Weedy beds not only look bad, they grow poor plants. While you are preparing the soil, you have a chance to remove the roots of perennial weeds like dandelions, thistles and grasses. As you dig, pick up any white roots you see – that little bit of extra work will pay off with easier weeding later on. If your ground is very weedy, and you aren’t in too much of a hurry, leave the bed unplanted until you see weeds sprouting. Then run the rototiller over it again to remove them. Wait a couple of weeks and repeat until you don’t see many weeds anymore. This dry fallow technique really pays big dividends.
Follow-up with Rich Mulch
Once you have prepared a good rich bed, you won’t have to do it again for a long time. If you are planting trees, shrubs, ground-cover or flowers, then it will be more or less permanent. You can help keep your soil rich and healthy by mulching with rich organic material, instead of bark chips or stones. You protect the soil from heavy rain and walking, so it doesn’t get hard again quickly. Even more, as that organic material rots down and works into the ground, it releases nutrients and keep your plants and your soil in top condition. It also conserves moisture and suppresses weeds, so its just a series of win-wins. Fall or spring are the best seasons to spread mulch
The good part is that you don’t even have to dig this material in for it to work. Simply spread it over the surface of the beds, 2 to 6 inches deep. Don’t pile it up against tree trunks and the stems of your bushes, or on the foliage of your evergreens. Leave a few inches around the base of the plants free but cover all the root-zone area. A freshly-mulched bed looks great too.
If you follow these basic guidelines, your garden will grow like you have never seen it do before. Good soil is the secret to a good garden, and the tips here are all you need to have top-quality soil wherever you live – and the best-looking garden plants around.