Written by davethetreecenters • February 12 Useful Tips for Pruning Fruit Trees
As winter moves hesitantly into spring, and the worst weather has passed in your area, its time to turn your thoughts to preparing the garden for another season. If you are lucky enough to have a garden with room for some fruit trees, then this is also the time to prune them. There is no one ‘right’ date for pruning them, and some are pruned, at least in part, in summer. But late winter is an excellent time for many, so let’s take a look at some guiding principles to help you prune more effectively and get the most out of your trees. Many new gardeners plant fruit trees enthusiastically, and then after a few years see they have tangled, leggy trees, with at best a crop of a few undersized fruits. The first thing to realize is that fruit trees need pruning at least once a year and may need a second pruning in summer too. Let’s start with the all-important winter pruning – because that one is the key to success.
The basic principle to keep in mind is that fruit trees produce their best fruit on branches that are 2 to 5 years old. If you over-prune, you will have too much young wood, and if you don’t prune, any fruit will just be at the base of long, spreading branches. Many growers try to develop what are called ‘fruiting spurs’. These are stubby side-growths that carry clusters of flowers, instead of shooting out as long, leafy branches. Regular pruning encourages spur development.
Although special methods are often given for specific types of trees – this way for apples, that way for peaches – in the home garden you can avoid much of that and prune your trees the same basic way. Here is a simple 3-step process that works for any kind of deciduous fruit tree and will set you up for more detailed pruning in the future, if you choose to go in that direction.
Step 1 – Clean Out Unwanted Branches
To begin, look for branches that are dead, broken or showing signs of disease. Dead branches will have peeling bark, and if you scrape the stem it will be brown, not green or white, underneath. Maybe a storm or strong wind has snapped a branch – remove it back to a healthy one. A branch might be showing orange spots on it, or some kind of fungal growth. Remove it back to a healthy branch. With apples and pears, that can suffer from a disease called ‘fireblight’, remove 8 to 12 inches of healthy wood when you remove any dying branches. This makes sure all the infection is gone.
Next, remove any stems coming from ground level, or sprouting out of the trunk. Depending on how your tree was produced, these could be from the rootstock, and not the variety you are actually trying to grow. If you have long, straight stems shooting straight up from the main branches, these ‘water-shoots’ should be removed as well, unless you need one to replace a damaged branch. Production of water-shoots is often a sign of pruning too aggressively the year before. Regular annual pruning is much better than a big cut-back every 3 or 4 years.
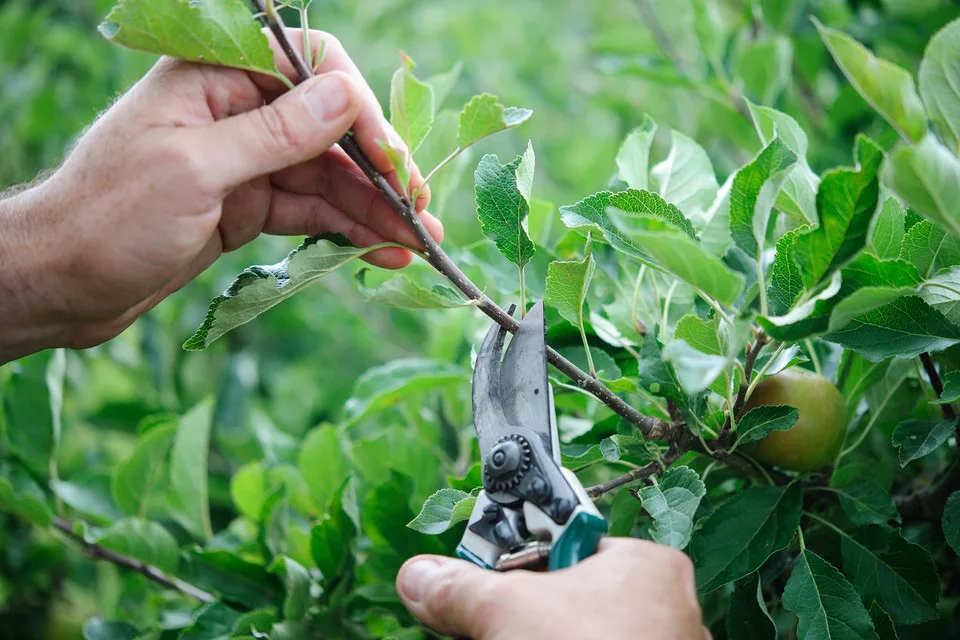
All your cuts should be almost flush with the branches – just leave the small swollen area where the stem meets the main branch – don’t leave a stub, and don’t trim flush with the branch either.
Step 2 – Thin Out the Crown
To develop flowers, and especially to ripen fruit successfully, you need sunlight inside the tree. A dense, bushy tree will not bear well, and what ever crop it does carry won’t ripen well. Fruit trees should have open crowns, so that the light penetrates inside it. There are two main structures used for fruit trees. You can train with a central stem and radiating side branches, or you can train like a vase, with a circle of branches spreading outwards to leave an open center. Decide which you want to follow – and stick to it. Remove any branches that are not creating this pattern, so that both the main and secondary branches are well-spaced. Each branch should have 6 to 12 inches of air-space around it. When you see two branches coming from the same point, remove one. Usually the weakest one, or the one which is more horizontal (it could snap under the weight of fruit) or more vertical (it will not flower well, and it will make your tree too tall). The ideal branch is at the same angle as the hands of a clock when it reads 2 o’clock.
Step 3 – Shorten Back the Remaining Branches
To encourage the spurs we talked about earlier, remove 20 to 30% of the length of all the branches that grew the previous year. These will be the ones that are smooth, with shiny bark and no side-shoots. Trace back from the tip until you find a slightly raised ring, and the bark suddenly becomes thicker and more ridged. That is where last year’s growth developed from the previous year’s bud. The new branch could be just a few inches long, or it could be several feet long. In either case, remove between ¼ and ⅓ of its length. This will encourage the branch to thicken, and send energy and hormones to the side shoots, turning them more quickly into fruiting spurs.
Some General Tips on Pruning Fruit Trees
- Choose a sunny day to prune, especially for apple and pear trees. This will quickly dry the cut surfaces and reduce the risk of disease.
- Make sure all your tools – pruners and saws – are sharp. Make sure you know how to sharpen your pruners correctly, or you will permanently damage them. Some of the best modern saws are designed not to be sharpened – they last several seasons with light to moderate use, and then you replace them. Saw-sharpening is a dying art.
- Buy good-quality tools. It is worth investing in a high-quality pair of pruners – the ‘gold-standard’ is the Swiss brand Felco. Choose a by-pass type of pruner, with one sharp blade that passes like a pair of scissors beside a flat blade. Pruners that have a blade that strikes the flat surface of a second blade, called anvil-pruners, can quickly become chipped and tear the bark.
- Sterilize your tools with rubbing alcohol between large cuts, and always between trees. Soak the blade in the alcohol for at least 30 seconds, after brushing away sawdust from the teeth of your saw. This will reduce the spread of disease.
- Destroy all your pruned branches, by burning them if possible. Again, this is a valuable way to controlling disease. Don’t leave them lying around the garden, and don’t shred them for mulch. This also applies to leaves on the ground under your trees from fall. Rake these up and destroy them – they are a significant way of spreading diseases, like ‘apple scab’ and ‘peach leaf-curl’, as well as other leaf diseases.