
Planting Guides How to Plant Bare Root Trees
The moment has arrived and your new trees are here. They will give you years of beauty and usefulness, shade or privacy protection, flowers, fruit or whatever your particular trees have to offer. The most important time for them is planting time, when you have the opportunity to give them the best start possible, so that they can reward you with vigorous growth and a long life. So the little work needed to give them the best start possible will be rewarded with years of success and pleasure.
If your trees have roots with no soil on them, then this is the planting guide you need to follow. If they are in a pot or have a root-ball wrapped in cloth, please consult our list of guides for the correct one for your tree.
If your trees have no soil on the roots, do not be alarmed. This is a common way of shipping certain kinds of trees. You will be surprised how quickly these trees will establish themselves and throughout the landscape industry this is a normal way of planting trees, especially fruit trees, mainly of course during the dormant season.
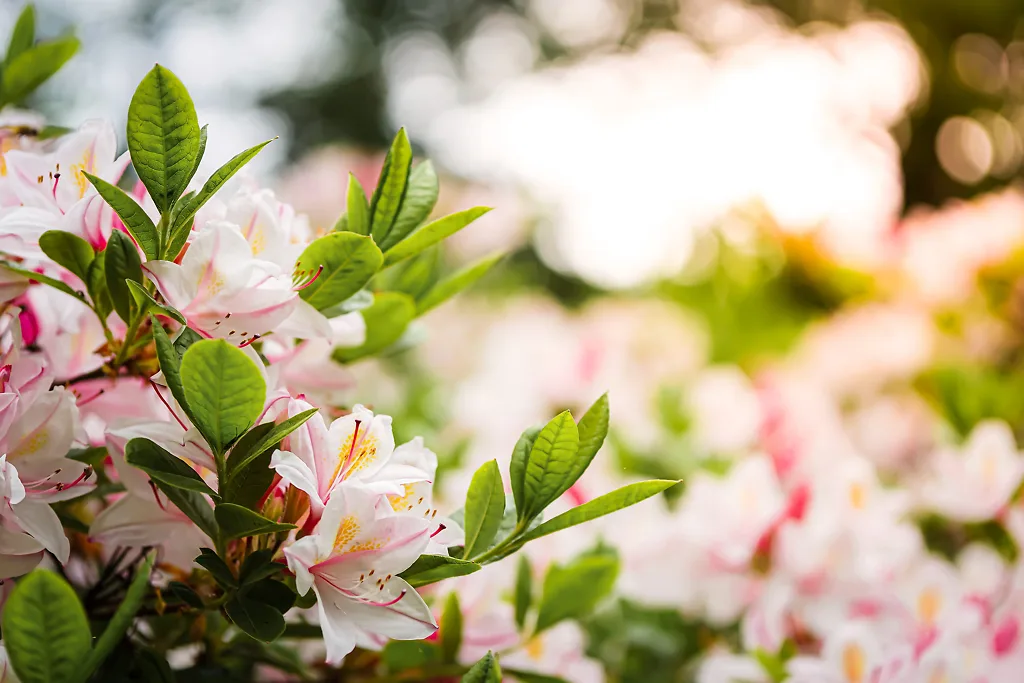
Although your tree will have no leaves on it, there may be the beginnings of growth from the buds. They may be showing a few tiny leaves or a few flower buds, and again, do not be concerned; this is perfectly normal and will give you no problems. If there is growth showing it is a good idea to complete your planting as soon as you can. If your trees are completely dormant then there is no rush, take as much time as you need.
In a Nutshell
– Remove all packaging
– Store the tree in water or a temporary hole
– Choose a suitable planting site for the needs of your tree
– Prepare the soil
– Dig a hole deep enough to contain the roots
– Put the tree in its hole and spread out the roots
– Replace most of the soil
– Water well, let the water drain and put back the rest of the soil
– Put a mulch around your tree and water once a week for the first season
Getting Your Bare-Root Trees Ready to Plant
The very first thing to do is un-wrap your trees. Remove all the wrapping materials, remove the trees from the box and remove any wrapping around the trees themselves. Depending on the exact trees, the roots may be wrapped in some cloth or placed inside a plastic bag. Do not remove this until you are ready to go to the next step.
Care Before Planting Time
The critical success factor with bare-root trees is to never let the roots become dry. So never leave your tree lying on the ground with the roots exposed, even for a short time. The wind can quickly dry the roots and cause damage. To protect the roots from drying you have a few options, depending on when you are going to be planting your trees:
Option #1: If you are going to plant your trees within the next 24 hours, the simplest and best thing to do is to place the roots in water. You can use a bucket or garbage can – anything big enough to hold the roots will be fine. Put some water in the container, remove any final wrapping from the roots and put the trees in the container so that the roots are completely under the water. If some of the stem is below the water as well that is fine. Put the container in the shade if you can but that is not at all essential. Leave the trees in the water until the moment of planting.
Option #2: If you are not ready to plant for a while, then dig a shallow hole somewhere in your garden, lay the trees at an angle in the hole, water them well and put back enough soil to entirely cover the roots. Trees can be left like this for weeks if necessary, as long as they are not sprouting more than a very small amount.
Choosing a Planting Location
Once your tree has been planted it is best not to try and move it again, so spend some time deciding exactly where to plant it. Look at its needs for sun or shade and choose a suitable spot in your garden for it. Consider how wide it is going to grow and allow enough space from buildings in particular, but also from fences and walls.
If you plant right on your property line, your neighbor has a legal right to cut back your tree to the property line, which may not look very nice, so plant well inside your property so that you have control over the growth and pruning of your own trees. If you are planting a screen or hedge, we have special guides for planting hedges, windbreaks and privacy screens.
Preparing the Planting Site
Good soil preparation is the key to the success of your tree. Whatever your soil is like, use it. Do not try to dig a hole and fill it with soil you bought somewhere else. If your soil is poor, just use extra organic material.
Your goal is to make a large area of looser soil that the young roots can penetrate easily, getting food as they go and establishing quickly. You need to have an area at least three times the diameter of the pot dug as deep as your spade will go. Add some organic material to the soil as you dig. Almost any kind of organic material is good, among the best are well-rotted cow, sheep, or horse manure (if you can obtain them); garden compost; any ‘top-soil’ from a garden centre; or if you have nothing else, peat-moss. A bucket per tree is about right, but any amount you have is worthwhile. In addition, trees need fertilizer to help develop their roots. This can be rock phosphate or bone-meal or any kind of superphosphate. There are many ‘tree planting’ fertilizers available too and they all work well, so whatever is available will be fine.
Remove roots of weeds from the area and any stones bigger than your fist. Smaller stones can be left and it is not a good idea to sieve the soil to remove smaller stones they are best left in and can help with drainage. Turn over the soil, mixing the organic material and fertilizer into it and then level it off and get ready to plant. Save some of the organic material you used to mulch your tree after planting.
Preparing Your Tree
If you have your tree already in a bucket of water then you are ready to go. If not, dig them carefully from the soil they have been in and place them in a bucket of water the night before you plant, or at least a few hours before planting, if possible. If there is any string holding the roots together remove it.
Digging the Hole
If you have prepared the planting area properly then you only need a hole that is large enough to take the roots comfortably. You want them spread out, not bunched up. If you are planting a windbreak, hedge, or screen, digging a trench is a good way to do this and makes positioning your trees very easy. Dig out the necessary amount of soil and put it to one side.
Staking
Bare-root trees need some support while the roots become established in the ground, so you need a stake for your tree. This should be strong enough to drive into the ground and be firm and not bend at all. Garden centers and hardware stores usually sell suitable stakes, and we even sell them at The Tree Center (you can find them here). These should be put in before placing the tree in the hole, so that you don’t accidentally damage the roots driving it in after planting.
There are a couple of different methods possible. A single stake that will be a little taller than the trunk of your tree is a good method. Drive this stake well into the ground once you have dug your hole, placing it slightly to one side of where the trunk of your tree is to go.
The second method is to use two short stakes, well driven in but showing just a foot or so above the soil. Place these on opposite sides of where your tree will be, outside the area where the roots are. If the prevailing wind is, for example, from the north, then place one stake on the north side and one on the south side.
Planting Your Bare-Root Tree
Remove the tree from the bucket of water. Look at the trunk close to the roots. You may be able to see a line where the color of the bark suddenly changes. This is where you want the soil level to be when you are finished planting.
Many trees are grafted – a stem from the exact variety wanted is attached to strong roots from another plant that will control the final size of your tree and give a vigorous and hardy root system. This will show with a sudden bend in the trunk – like a dog’s back leg. This area should be an inch or two above the ground so that you can clearly identify any shoots coming from the root-system and remove them, as they will not be what you want to have growing.
Place the tree in the hole and if you have an assistant to hold it at the correct height that will make planting easier. You can also use some string to temporarily attach the tree to the stake at the correct height while you plant, or just hold it with one hand while you replace the soil by pushing it with the spade in your other hand or even with your feet. Spread out the roots over the soil and replace about three-quarters of the soil in the hole, pressing it down around the roots of your tree. Finish firming down the soil – a gentle foot pressure or firm hand pressure is about right.
Watering Your Tree
Now fill the hole with lots of water, letting it soak down into the ground and into the root ball. Use plenty of water and then wait until it has all drained away. This method will make sure there is lots of water around the roots, where it is needed.
Finishing the Planting
Now put back the rest of the soil, firming it gently down. Make sure the soil is not sloping away from the tree, but is flat. This will ensure that when you water it, it will stay around the tree, not run away. Some gardeners like to make a low wall of soil around the tree, at a spot about twice the diameter of the root area, to retain water. This is a fine thing to do, but not absolutely necessary. Put a layer of organic material over the root area, about two inches deep and then water the whole area thoroughly.
Planting in Clay and Wet Soils
If you have heavy, clay soil that stays wet for long periods, there is a special trick to planting which will help your tree establish itself better. Rake some of the soil from the edges of your planting area into the center, to build a slightly-raised mound. Plant your tree on this mound so that the final surface of the soil after planting is above the surrounding area. This will help water to drain away around the roots until your tree adapts to the location. You should still use mulch over the roots.
Complete the Staking
Now attach the tree to the stake(s). Wrap the stem with some cloth and use strong rope to secure the tree firmly to the stakes. If you have a short piece of hose-pipe you can thread the rope through that and position the hose on the bark, as a way of protecting it. The rope needs to be tight enough so that the tree does not move around at soil level. It is good if the upper part can move a little, but the base must be kept still to allow the roots to catch into the soil.
Remove the stake after one growing season, once the roots are well-established. Leave it in place during the first winter and remove it in spring when the new growth begins.
Follow-up Care of Your Bare-Root Tree
Until your tree is established it will need regular watering. How often depends on the weather, but a good, slow soaking once a week is usually best (or twice a week if the weather is hot). Soak the whole area around the tree, not just up against the trunk
So that is it. Your new tree is set for a great life and will reward you with vigorous growth, cooling shade, beautiful flowers or delicious fruit. A little care really pays off.
Comments 1 comment
how long should it take from the time the nut trees arrive and planted the nexted day should i see leaves coming coming out? the apple tree is doing great. it is full of leaves. but the english walnut and the thetwo pecan trees show no signs of life. are they they still dormant?